Create a Vendor
Add a vendor to your vendor list
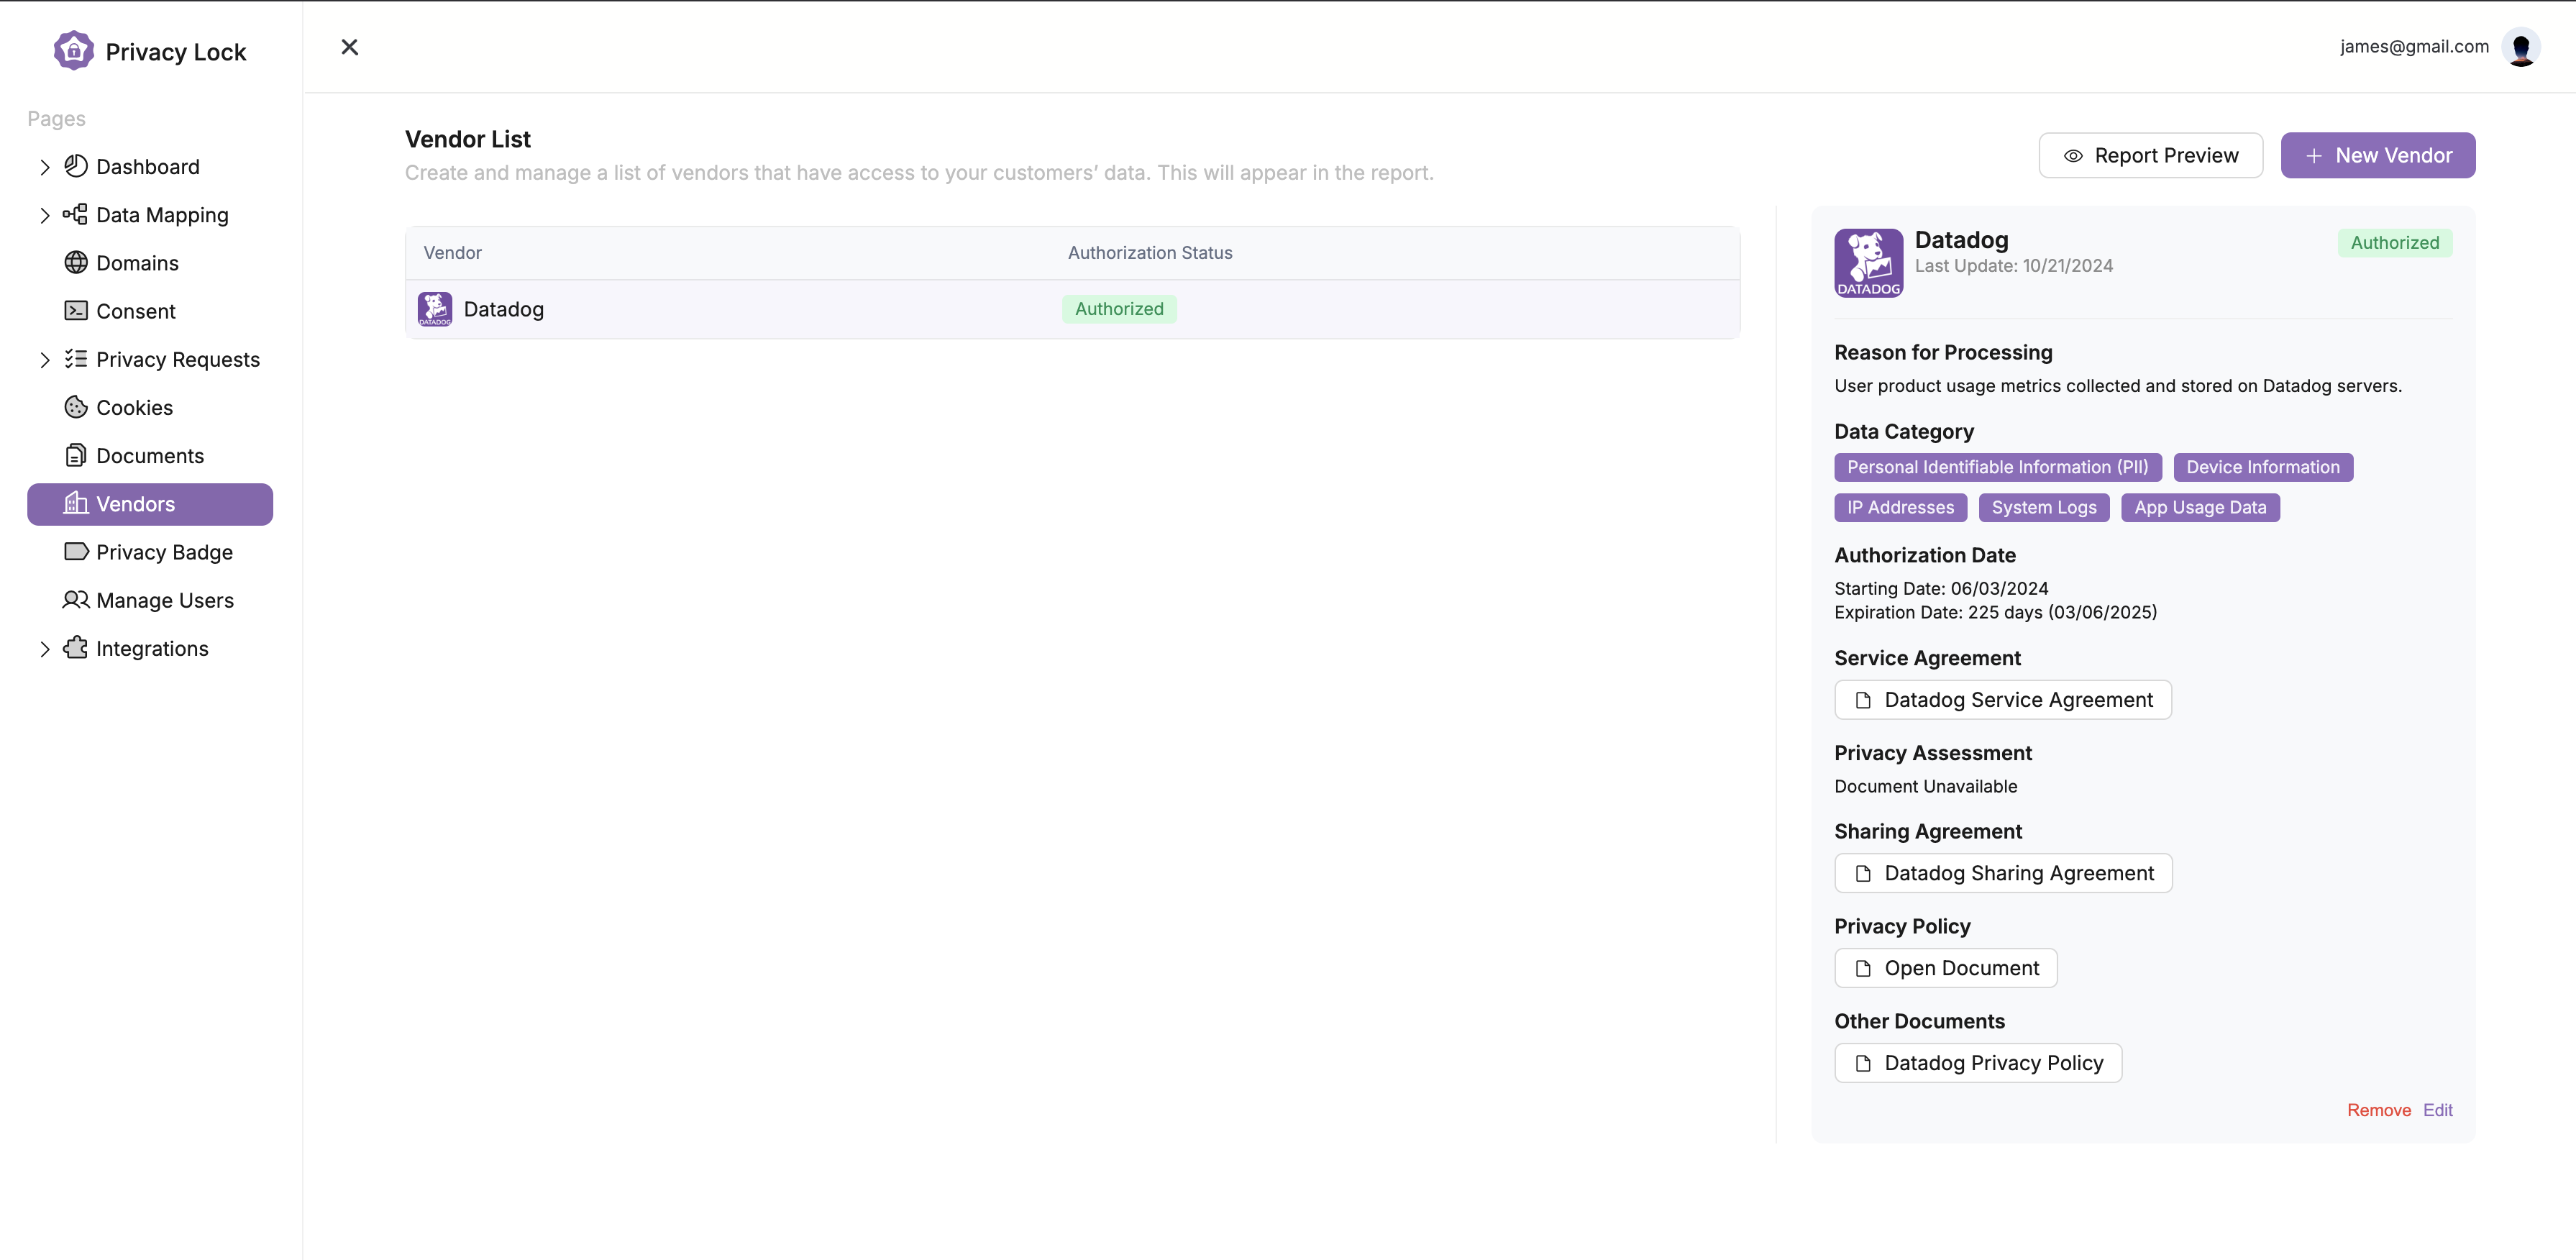
When you open the vendors page on your dashboard, you will see a vendor list like the one pictured below. In this feature you can create and manage a list of vendors that have access to your customers’ data. The vendor list will also appear in Data Access reports according to your configuration parameters, and can be added to your privacy notices and disclosures, as needed.
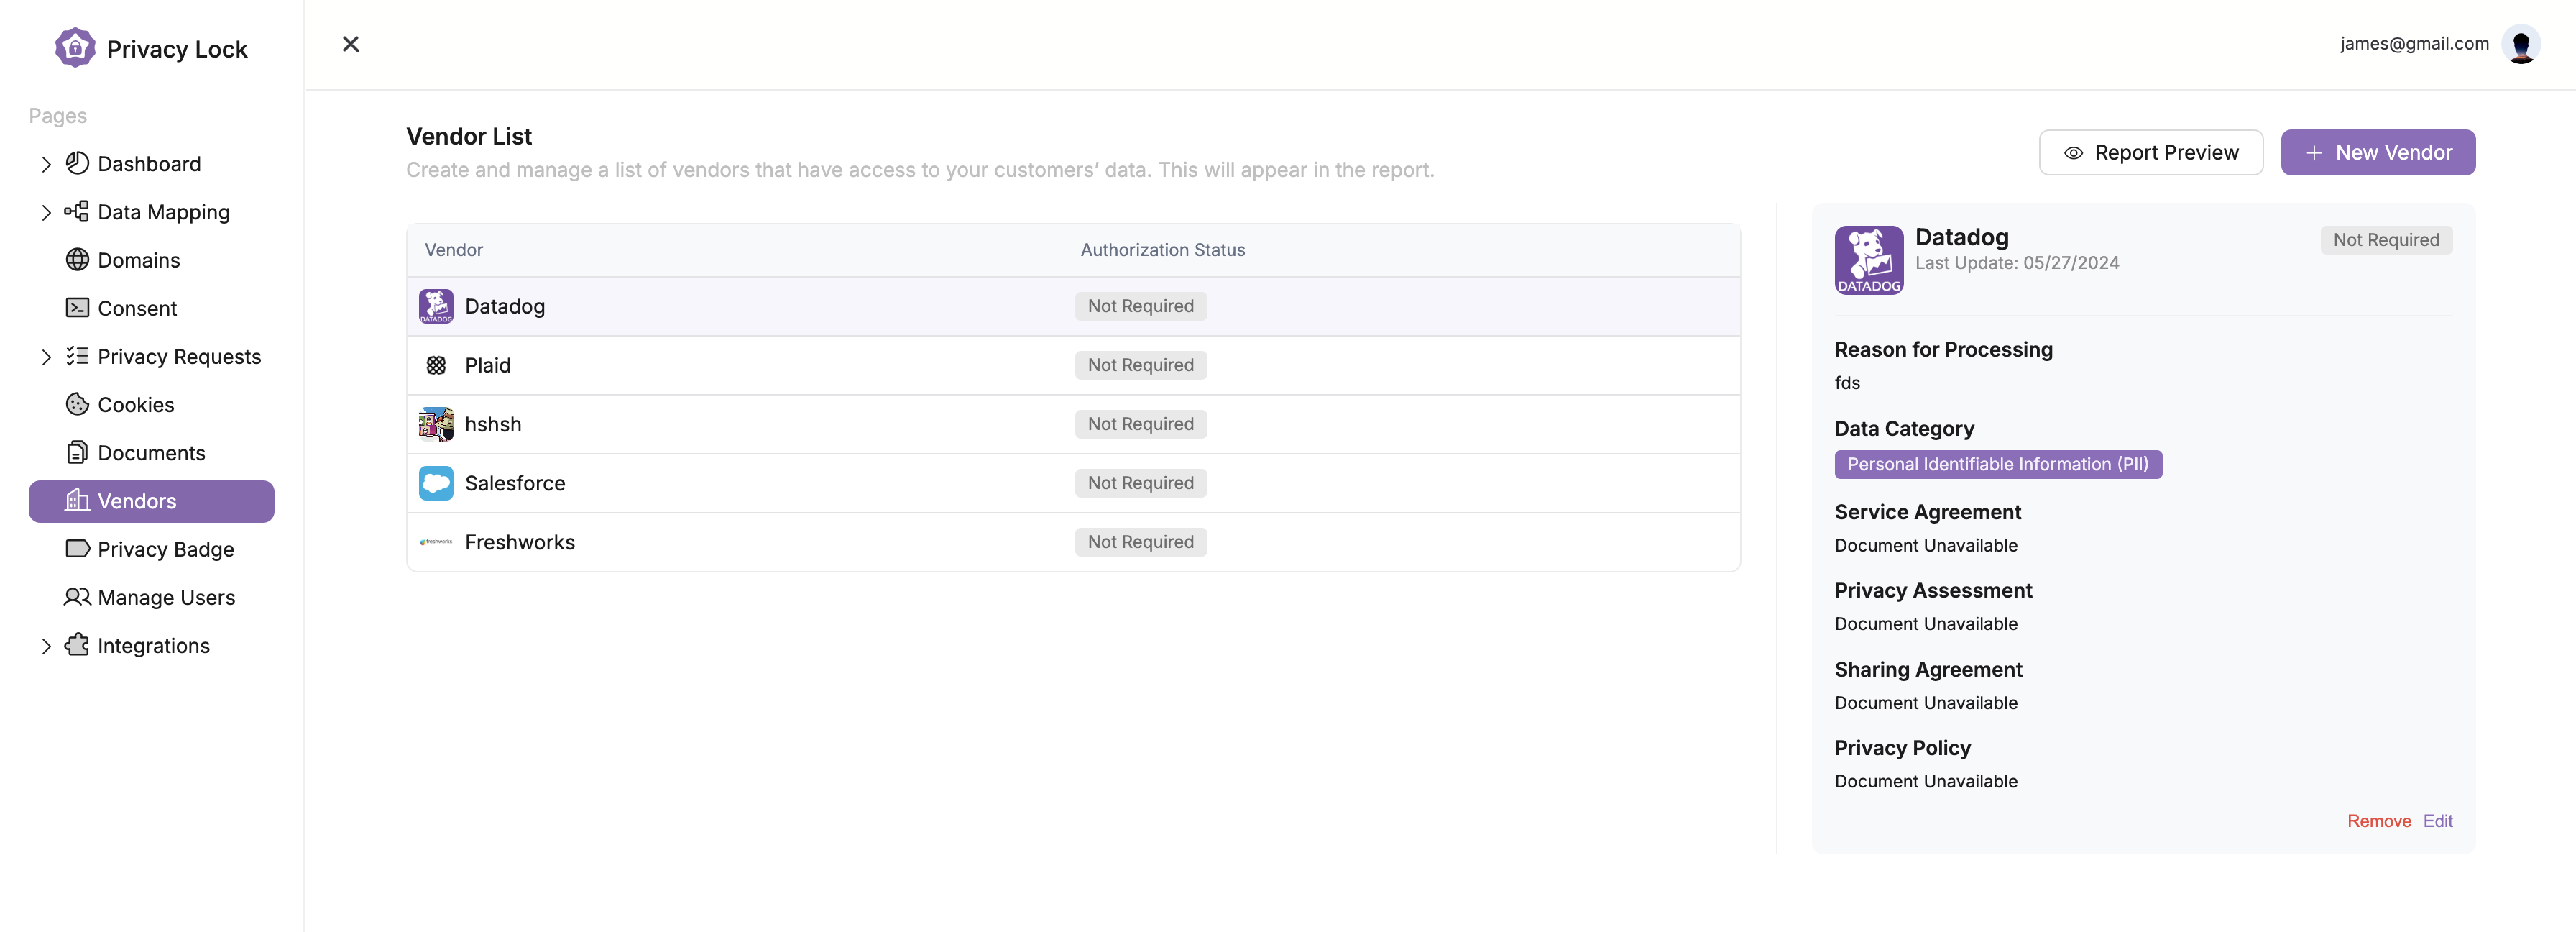
On the right side, clicking on a vendor displays key information like the reason for processing, data category, and service agreement. If no vendors are listed, don't worry — we'll be adding some throughout this tutorial.
Add a Vendor
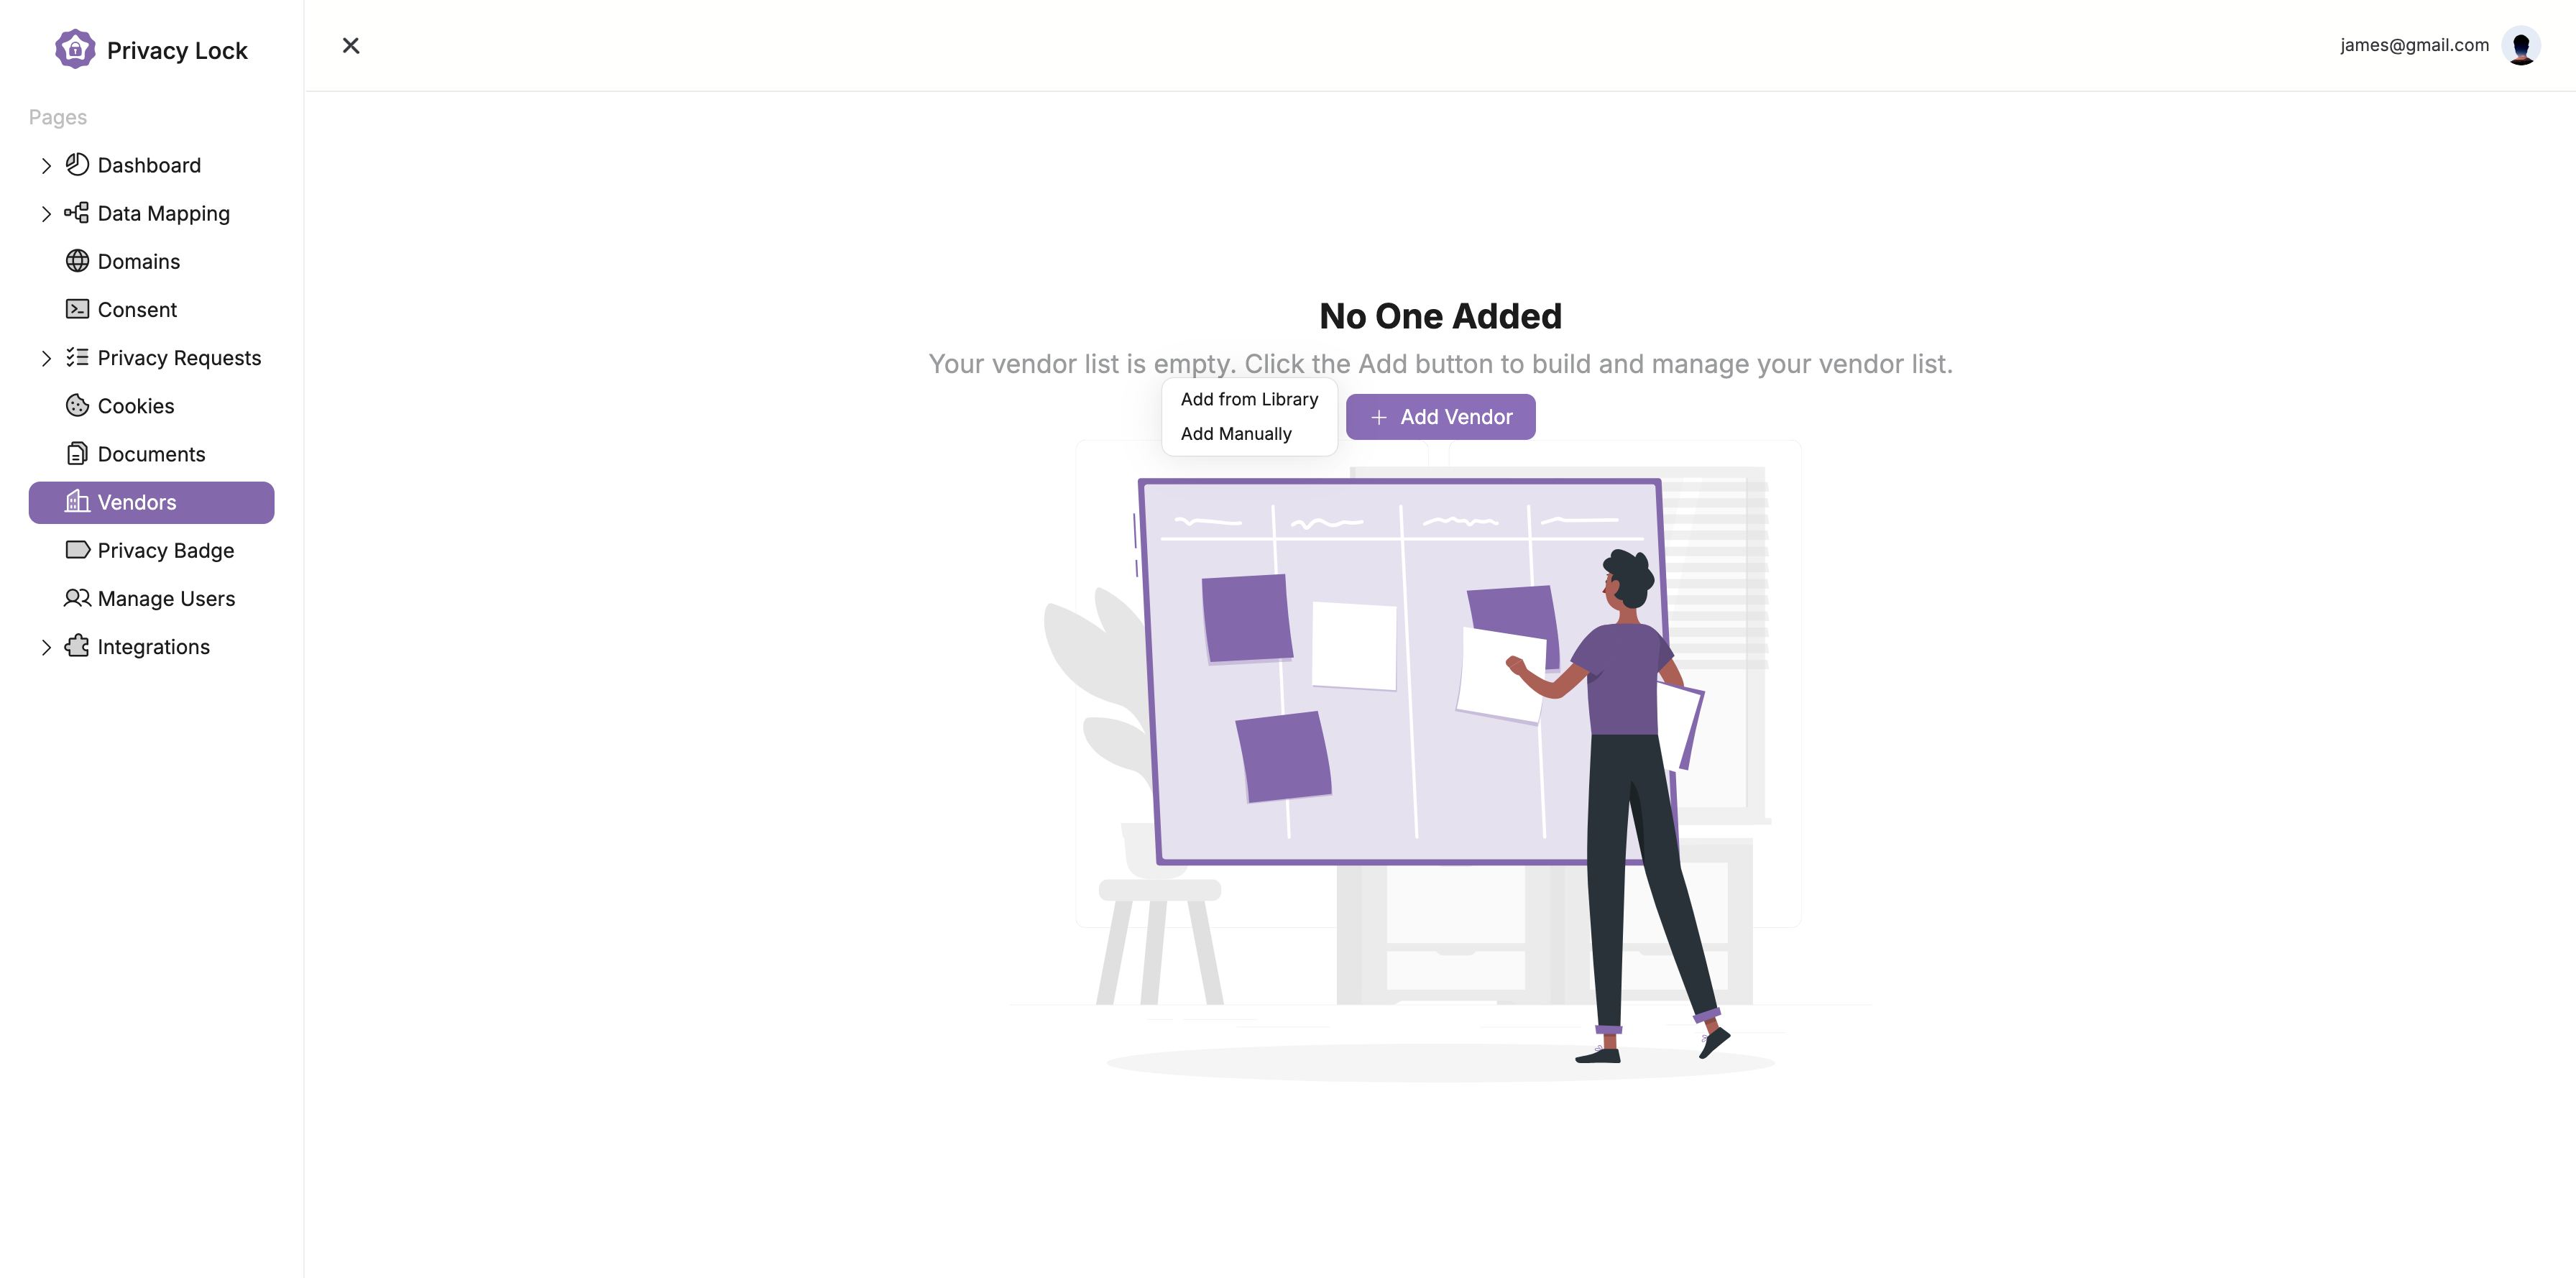
To add a vendor click the button labeled + Add Vendor. This will provide up two options, Add from Library and Add Manually.
Click on the Add from Library button to proceed with selecting a vendor from the existing list and follow the steps outlined below to add the vendor. If your vendor is not on the list, you can add them manually.
If you need to perform a manual vendor upload, please continue to follow the steps below. The only requirement for a manual vendor upload is that you have a copy of the vendor logo.
Browse through the library and look for the supported vendor. Additionally, you can search for a vendor by typing the name into the search bar.
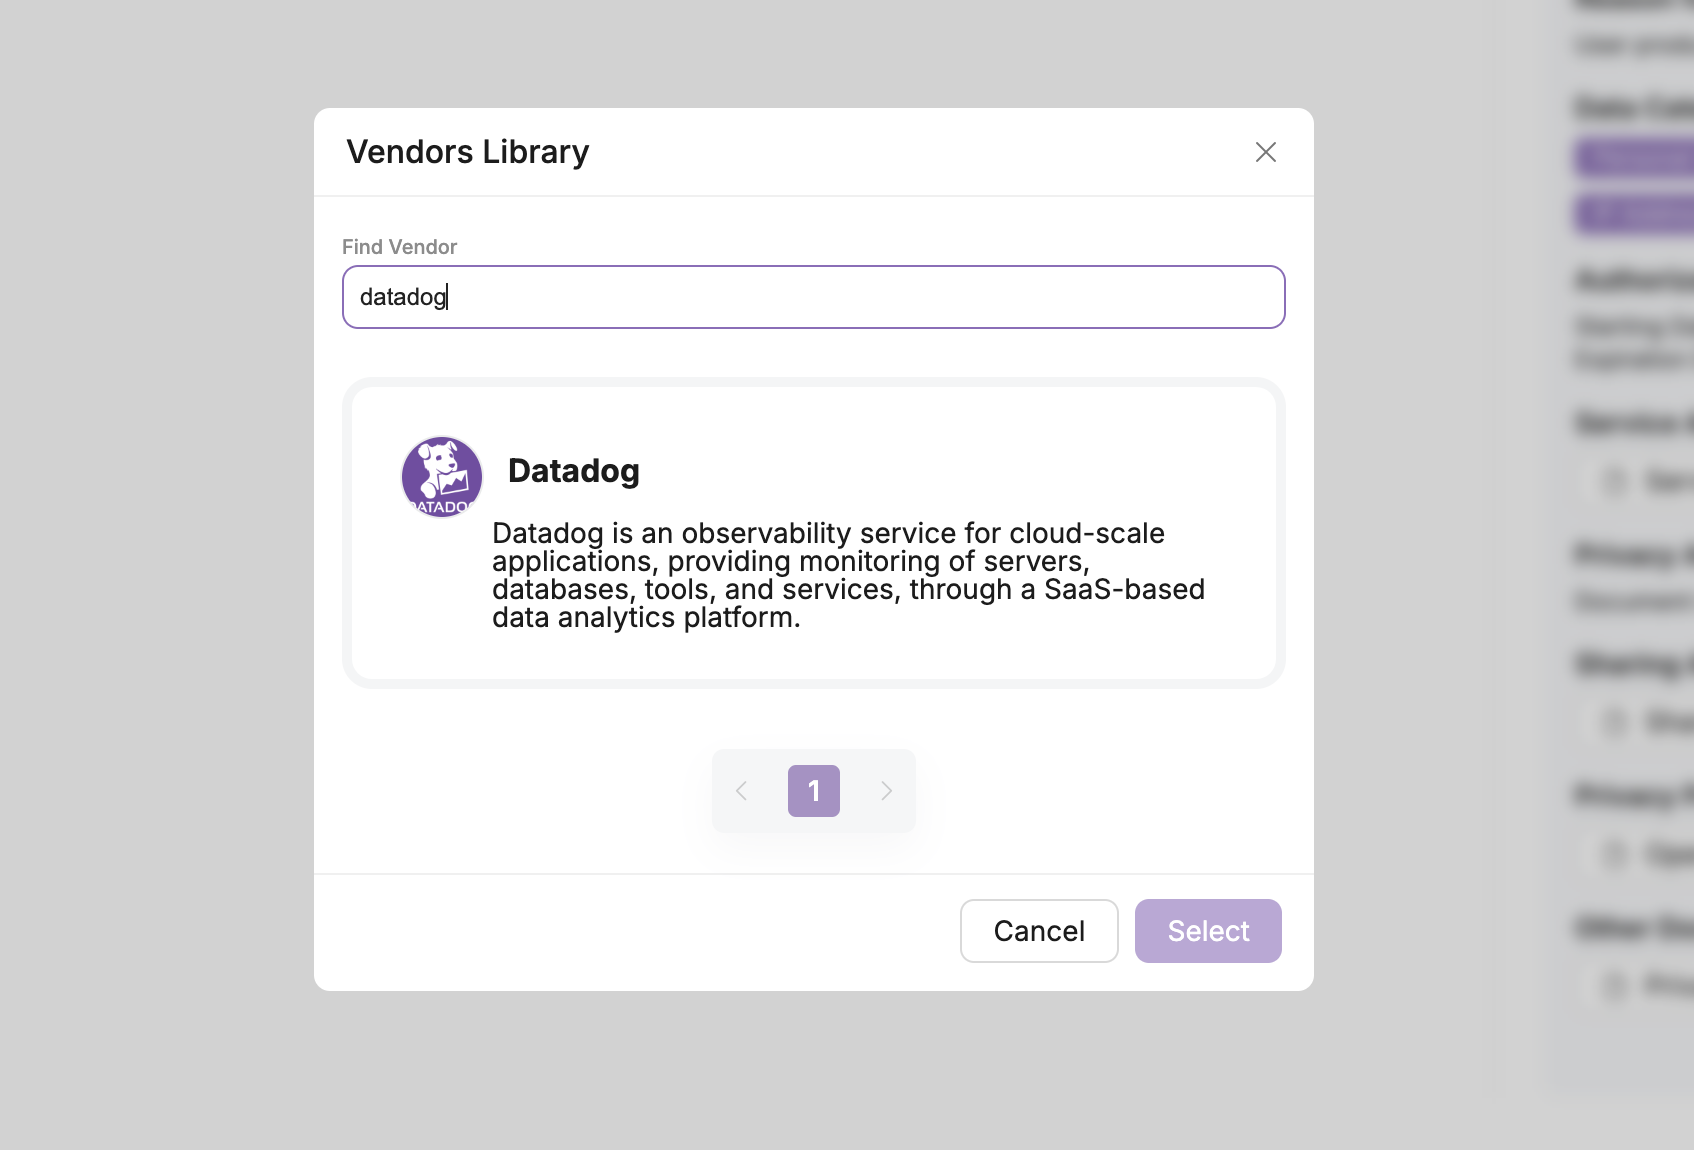
Once you've found your vendor, click Select. As you can see in the screenshot below, each vendor profile includes data fields that must be completed in order to save the vendor profile.
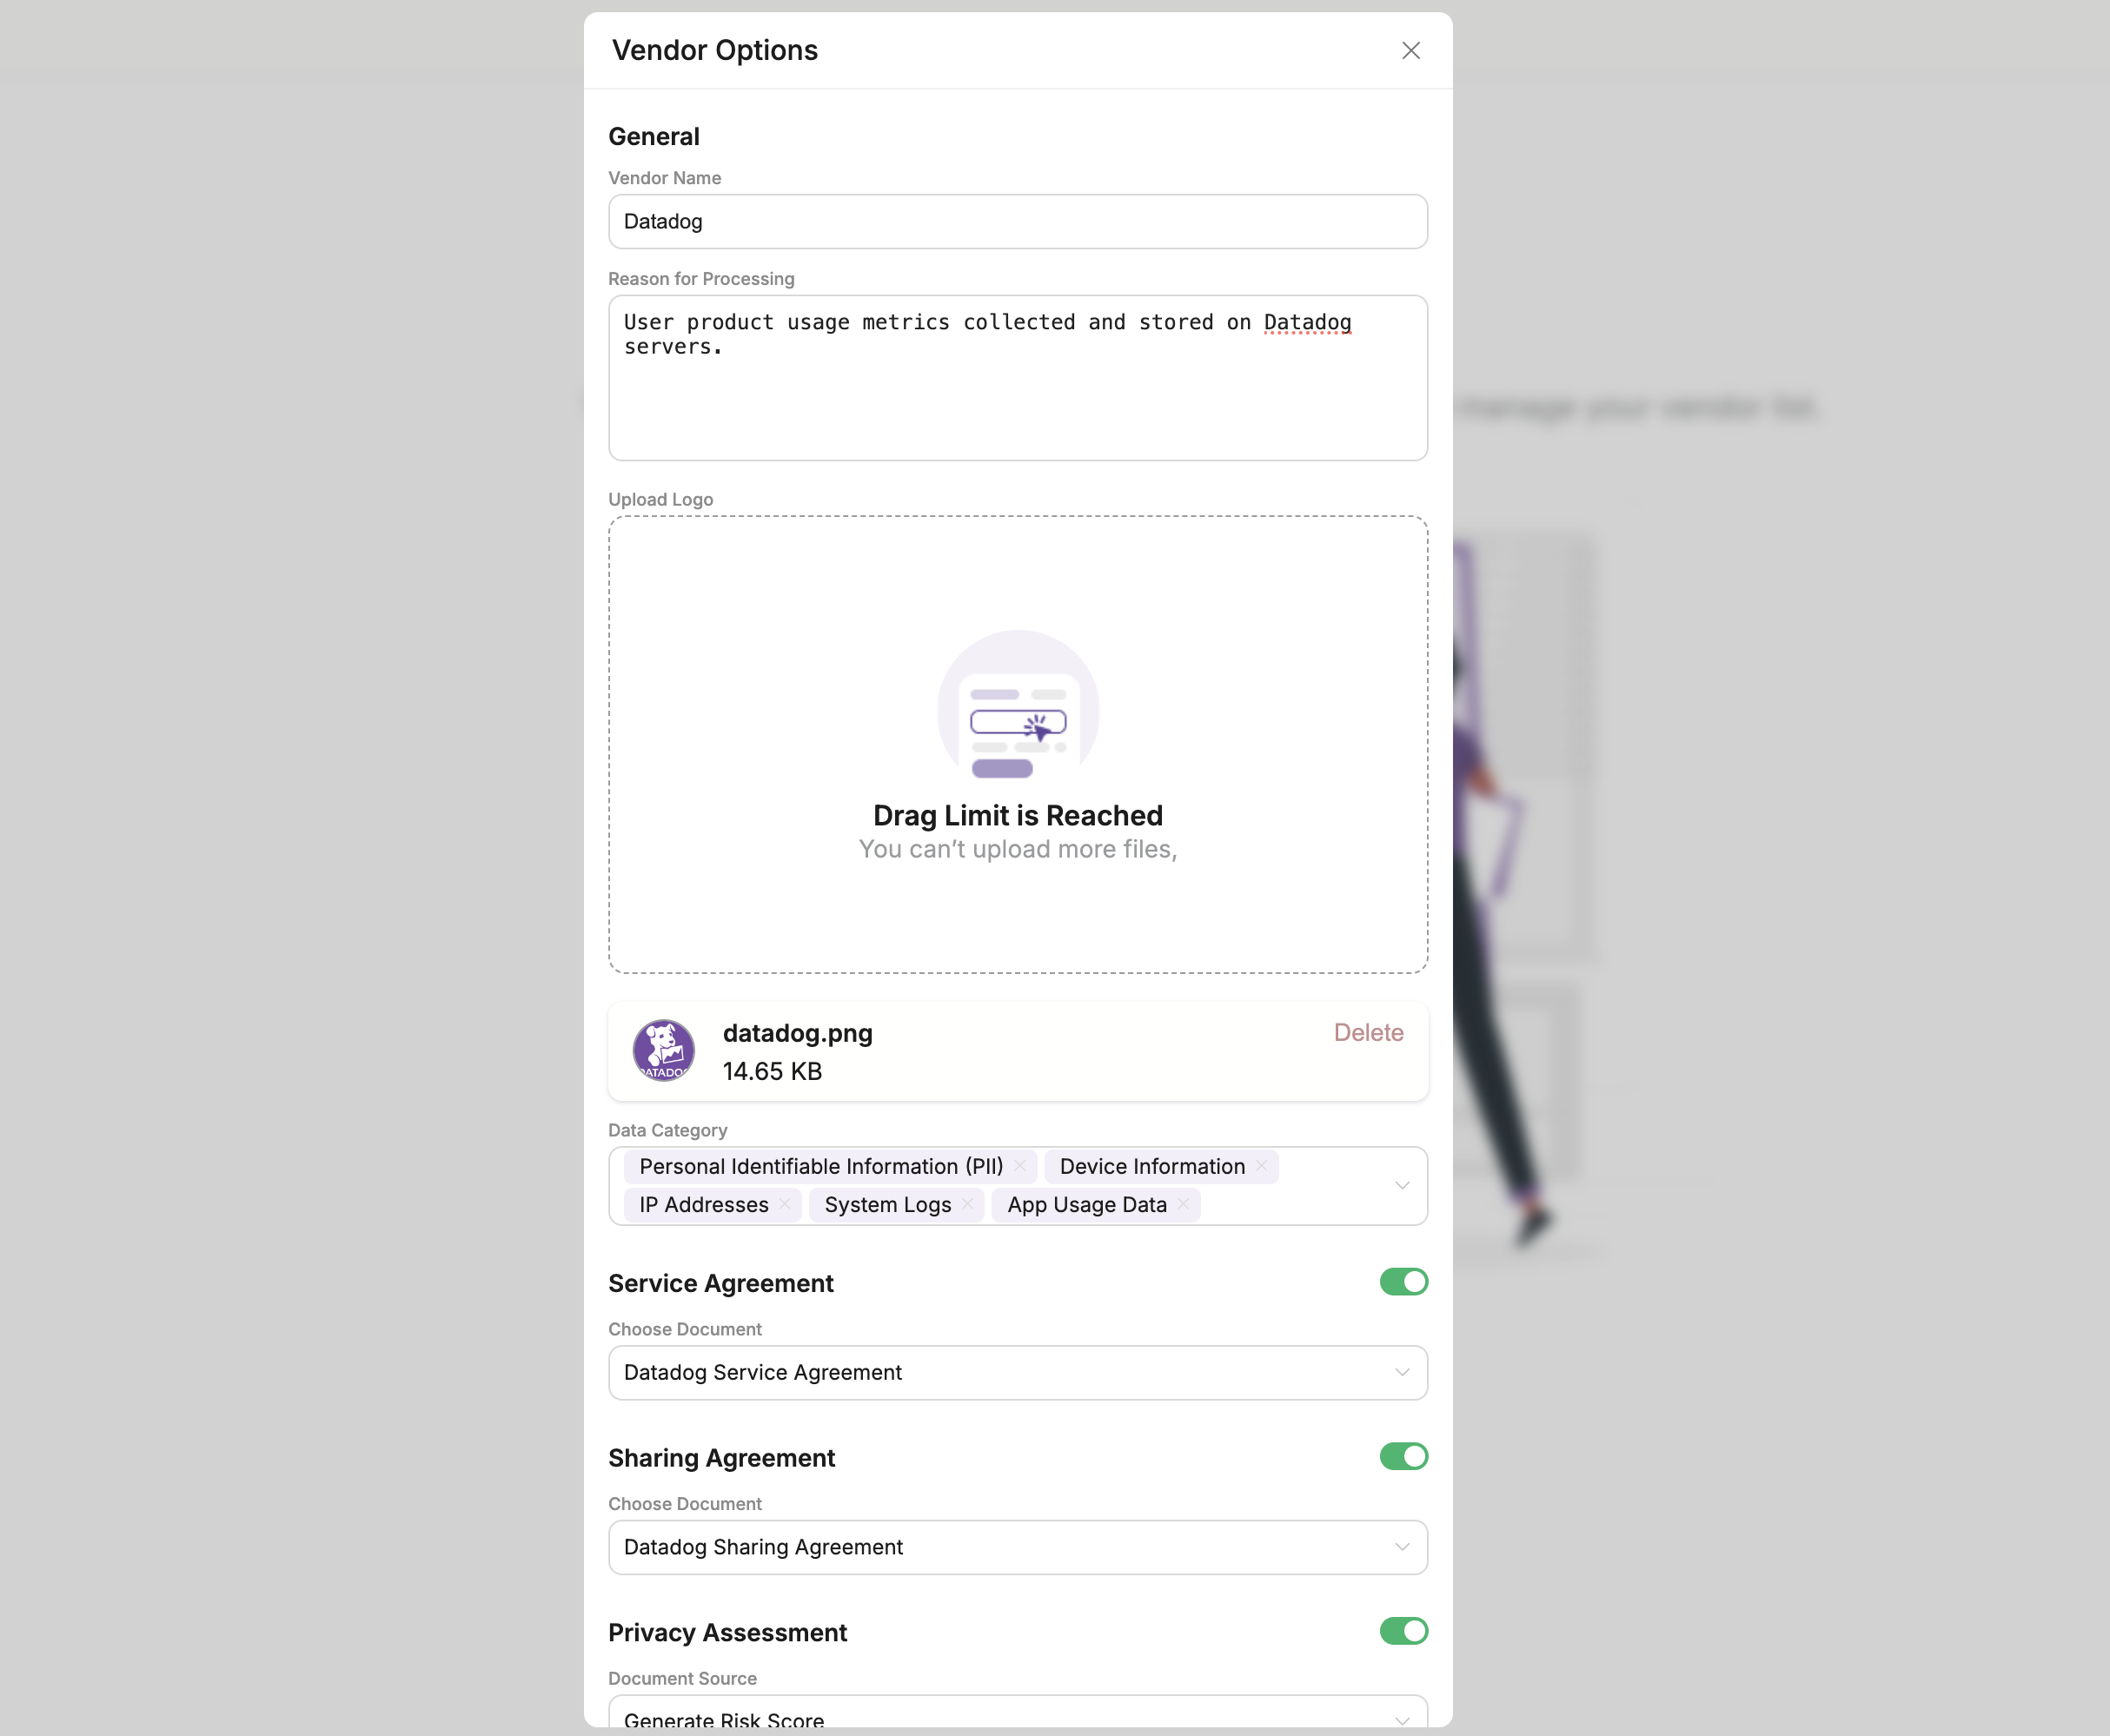
Here's a breakdown of each field in the Vendor Options interface:
-
Vendor Name: The name of the third-party vendor or service provider (e.g., Datadog).
-
Reason for Processing: A description of why the vendor processes data on behalf of your organization. This should clearly state the purpose for which the vendor is collecting, storing, or processing data.
-
Upload Logo: A vendor logo must be included with the profile. The file upload size may have a limit.
Upload logo is only needed if you are doing a Manual vendor upload. If you chose a vendor from the Vendor Library, you do not need to upload the logo.
-
Data Category: A list of categories specifying the types of data the vendor handles. Examples include:
-
Personal Identifiable Information (PII): Information that can identify an individual, such as names or email addresses.
-
Device Information: Data about the user's devices, like operating system or device type.
-
IP Addresses: The vendor processes or stores user IP addresses.
-
System Logs: Logs that record system activity or errors.
-
App Usage Data: Information on how users interact with your application.
-
Service Agreement: A field where you can attach or select the Service Agreement document between your organization and the vendor. This contract outlines the terms of service, including the obligations and rights related to the data the vendor processes.
-
Sharing Agreement: A document selection field for adding or linking to the Sharing Agreement, which details how data is shared between the vendor and your organization, including restrictions and responsibilities regarding the data.
For the Choose a Document selection, the dropdown may appear to be empty. In order to populate the dropdown with documents, you need to upload the appropriate documents in the Document tab. For more information on how to do this, please visit the Document Management section of our documentation.
Below are the remaining fields needed to create a vendor.
-
Privacy Risk Assessment: A field indicating the completion of a Privacy Risk Assessment for the vendor. You will need to send a link to your vendor and ask them to complete the assessment before you can generate a risk score by selecting ‘Generate Risk Score’ from the drop down.
-
Authorization: -Set Authorization Date: TSpecify the date the vendor was authorized to handle data on behalf of your organization. This is important for tracking vendor authorizations and reauthorizations, which may be required for regulations like CFPB Section 1033.
-
Privacy Policy:
- Privacy Policy Type: Select the type of privacy policy you want to link or upload. In this case, the type is a Link.
- URL: The web address (URL) where the vendor's privacy policy is hosted. This allows quick access to review the vendor's privacy practices.
-
Other Files: You can also attach the vendor’s privacy policy as a document. Note this document must first be added to the Document Management feature, as described above.
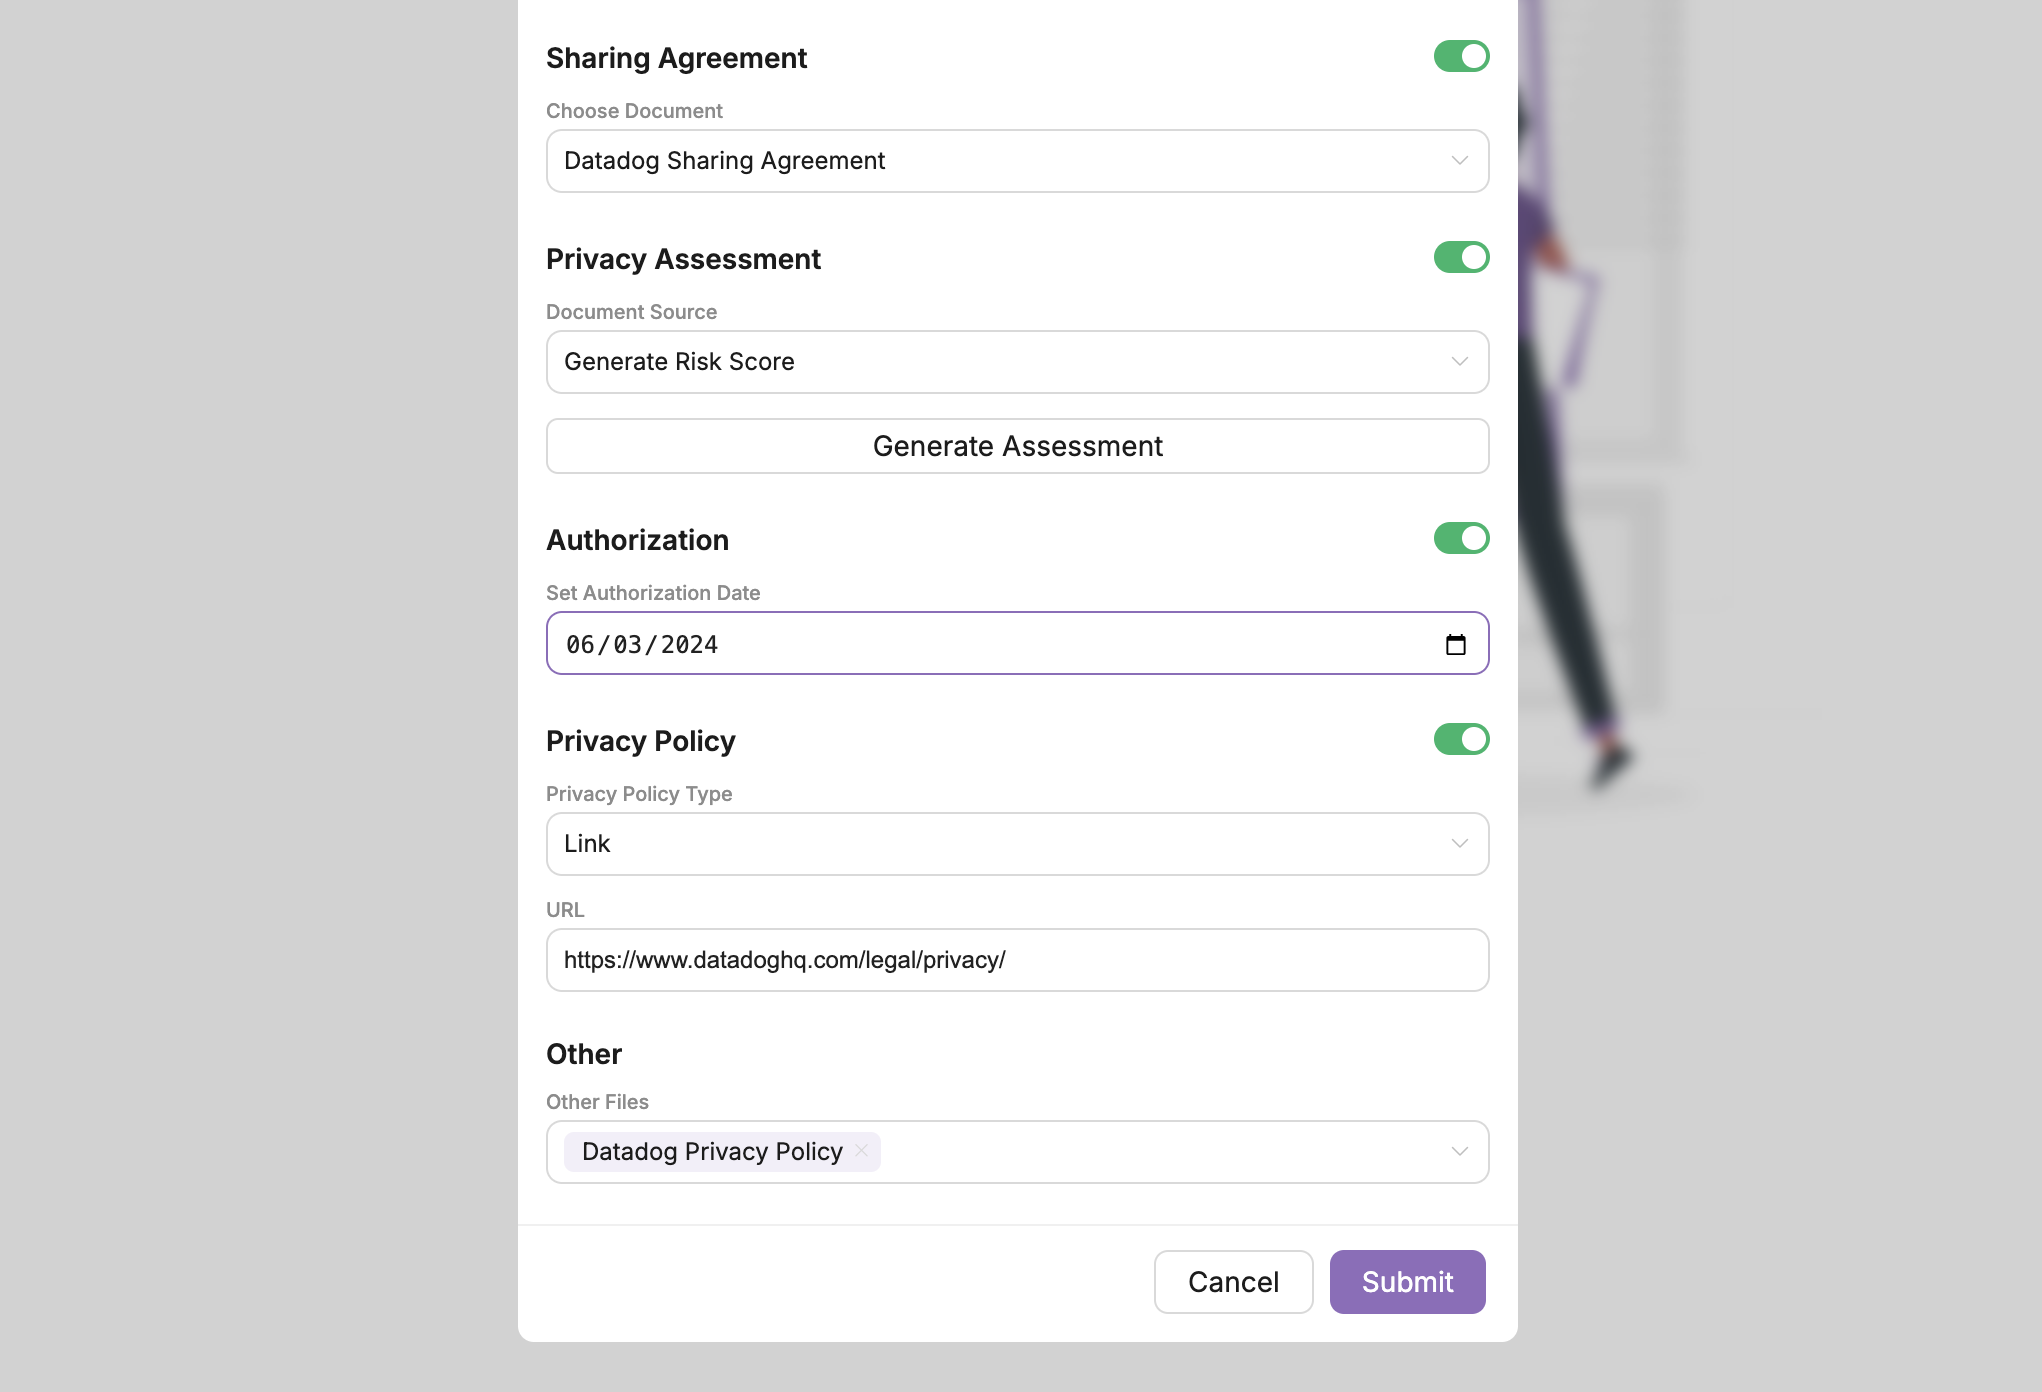
Once you have all of the fields filled out, click on Submit and you will be returned to the main vendors page. You will now see the vendor listed in the table as seen below.
For more information on how to generate a Vendor Report, please visit the next page.