Meta Models
Privacy Lock makes it easy to map your data across disparate platforms and databases without sharing any consumer PII with Privacy Lock. We do this by creating a topology of the data schemas in your database systems, and tracking the data fields you collect. This produces a Meta Model of mapped data systems that you can visualize and manage in your Privacy Lock instance.
Meta Models provide a lightweight approach to data mapping that fulfills your privacy management and compliance needs without needing to share any consumer data with Privacy Lock.
Create a Custom Data Map
Navigate to the Data Mapping tab of the Privacy Lock Dashboard. This will bring you to the page below.

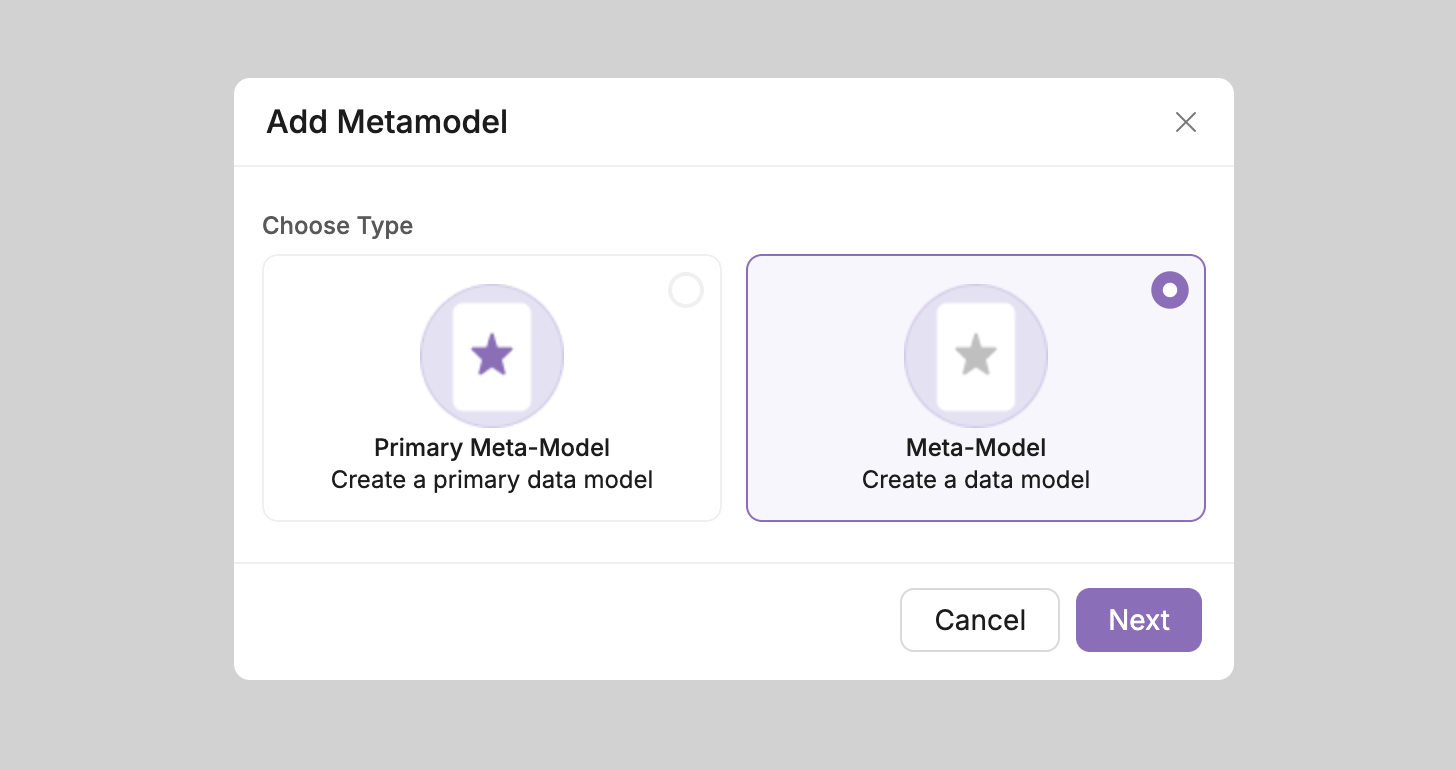
To create a meta model select the button in the top right corner labeled Create Meta Model. This will bring up a window like the one shown below. There are three options here for creating a meta model. Select the option for Custom Map.
For more information on how to connect your Database and create a Primary Meta Model, please visit the Integrations page.
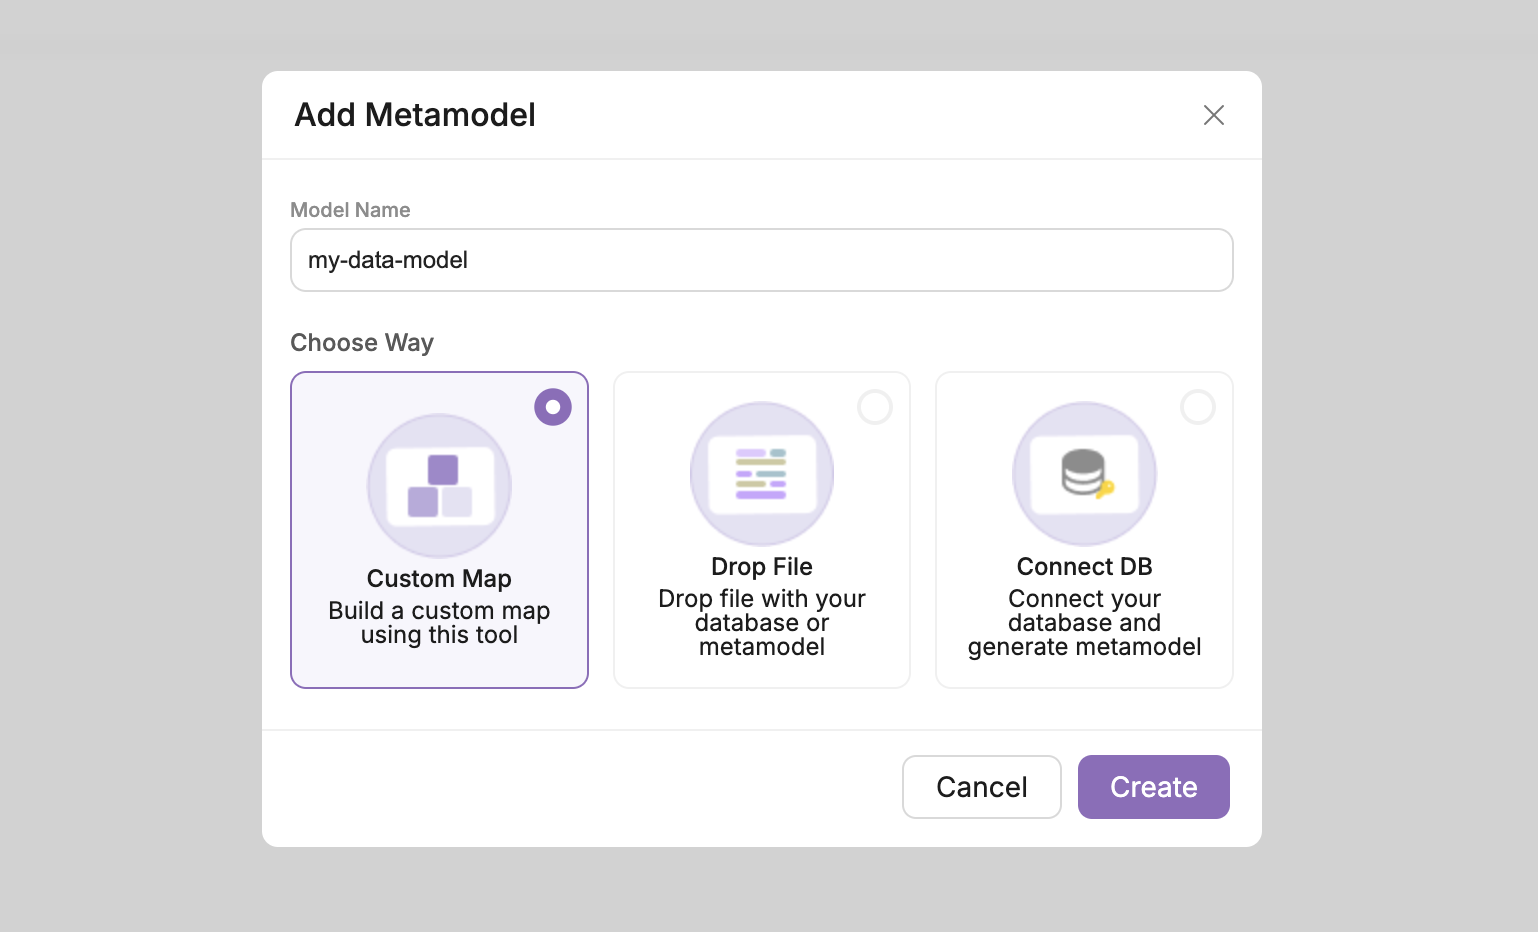
Next, give the model a name and select Custom Map as shown below. Then click create.
View and Edit your Meta Model
Now that we have created the custom map, you will see it in the Data Mapping dashboard. Examine the screenshot below, notice the gear icon at the right of the model entry.

To view and edit your model, select the gear icon and click Edit. This will open the model editor with a blank meta model.
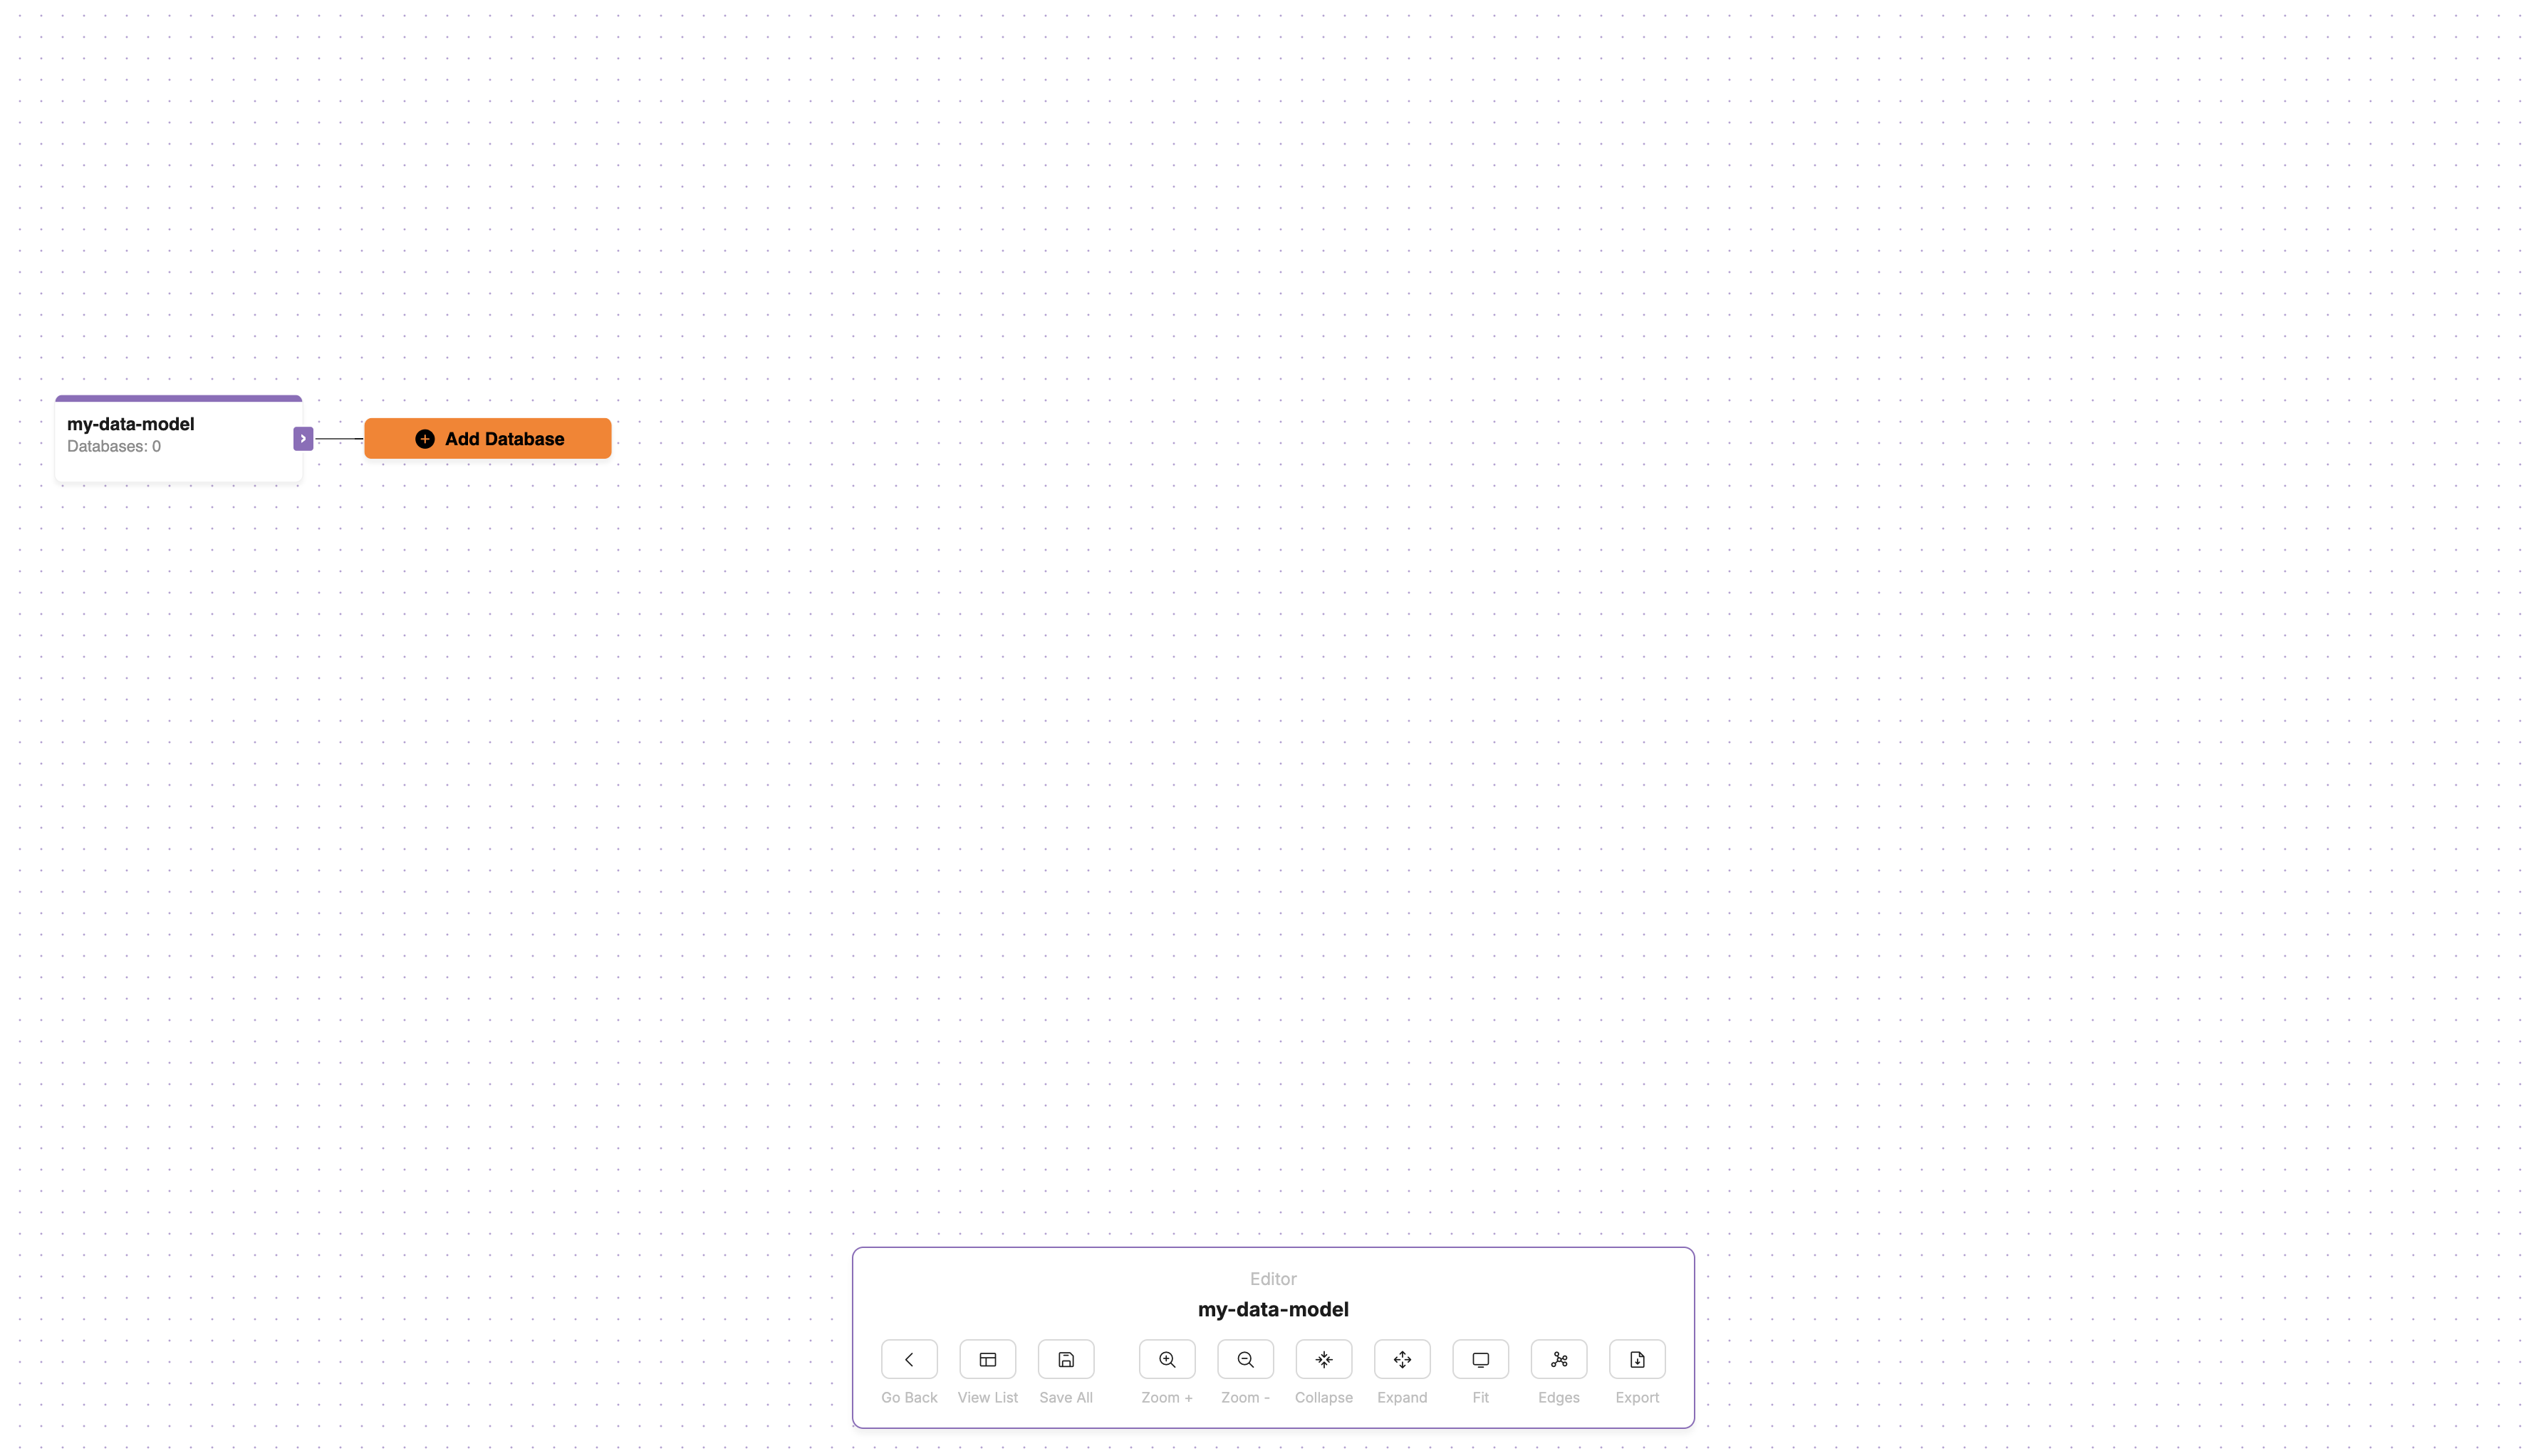
Notice the panel at the bottom of the screen. It has a number of buttons that will be useful throughout the tutorial. To get started, select Fit. This will center the model on your screen. In this next step, we'll be adding a database to the model. To do this, we need to select Add Database. Enter a db name and a table name as I have below. Before we select Create, let's add some fields to the table.
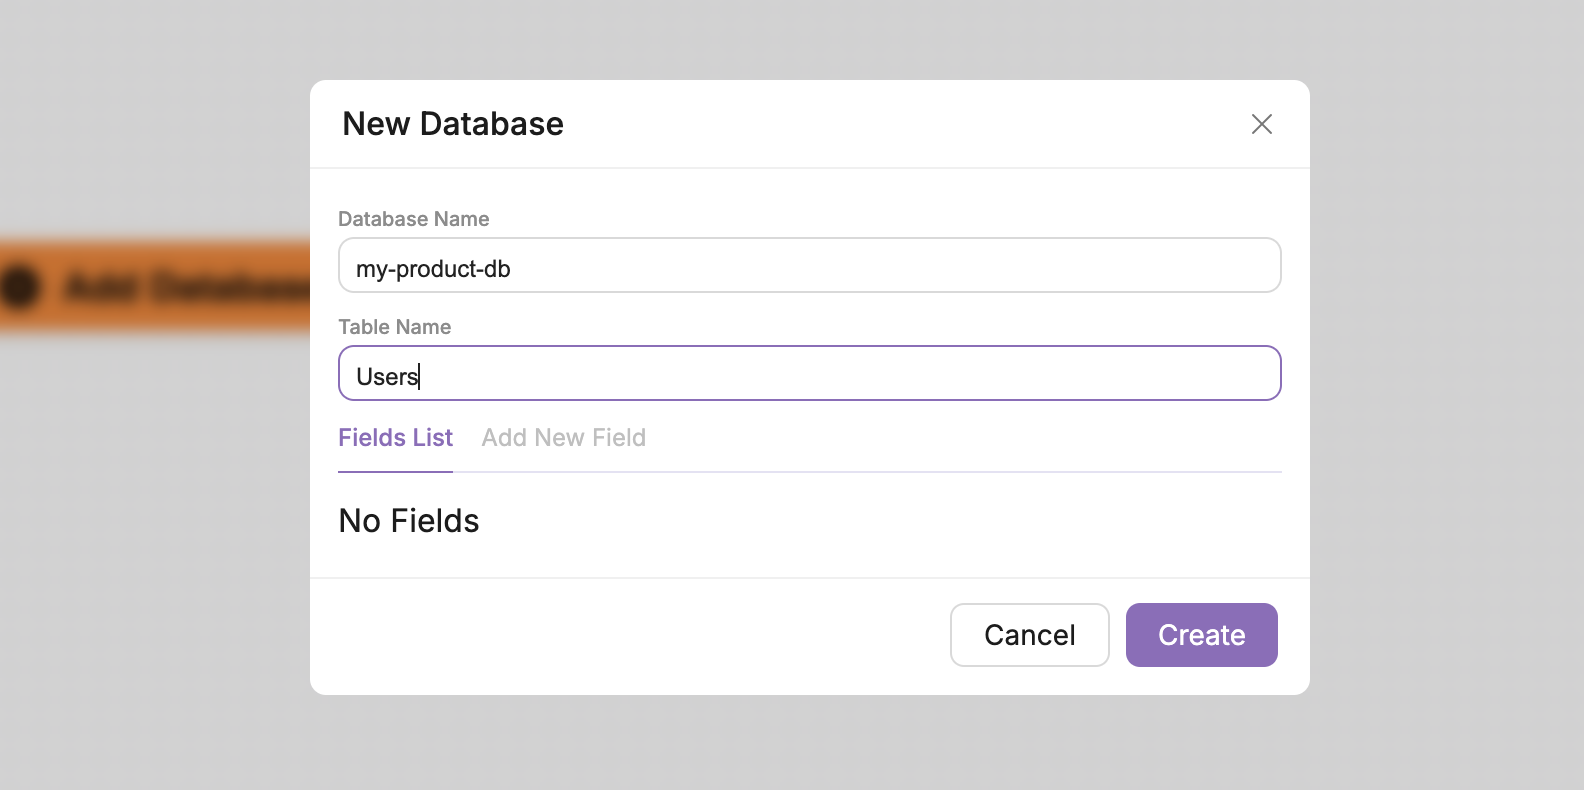
Select Add New Field and fill out the information for the table fields. This process is shown below.
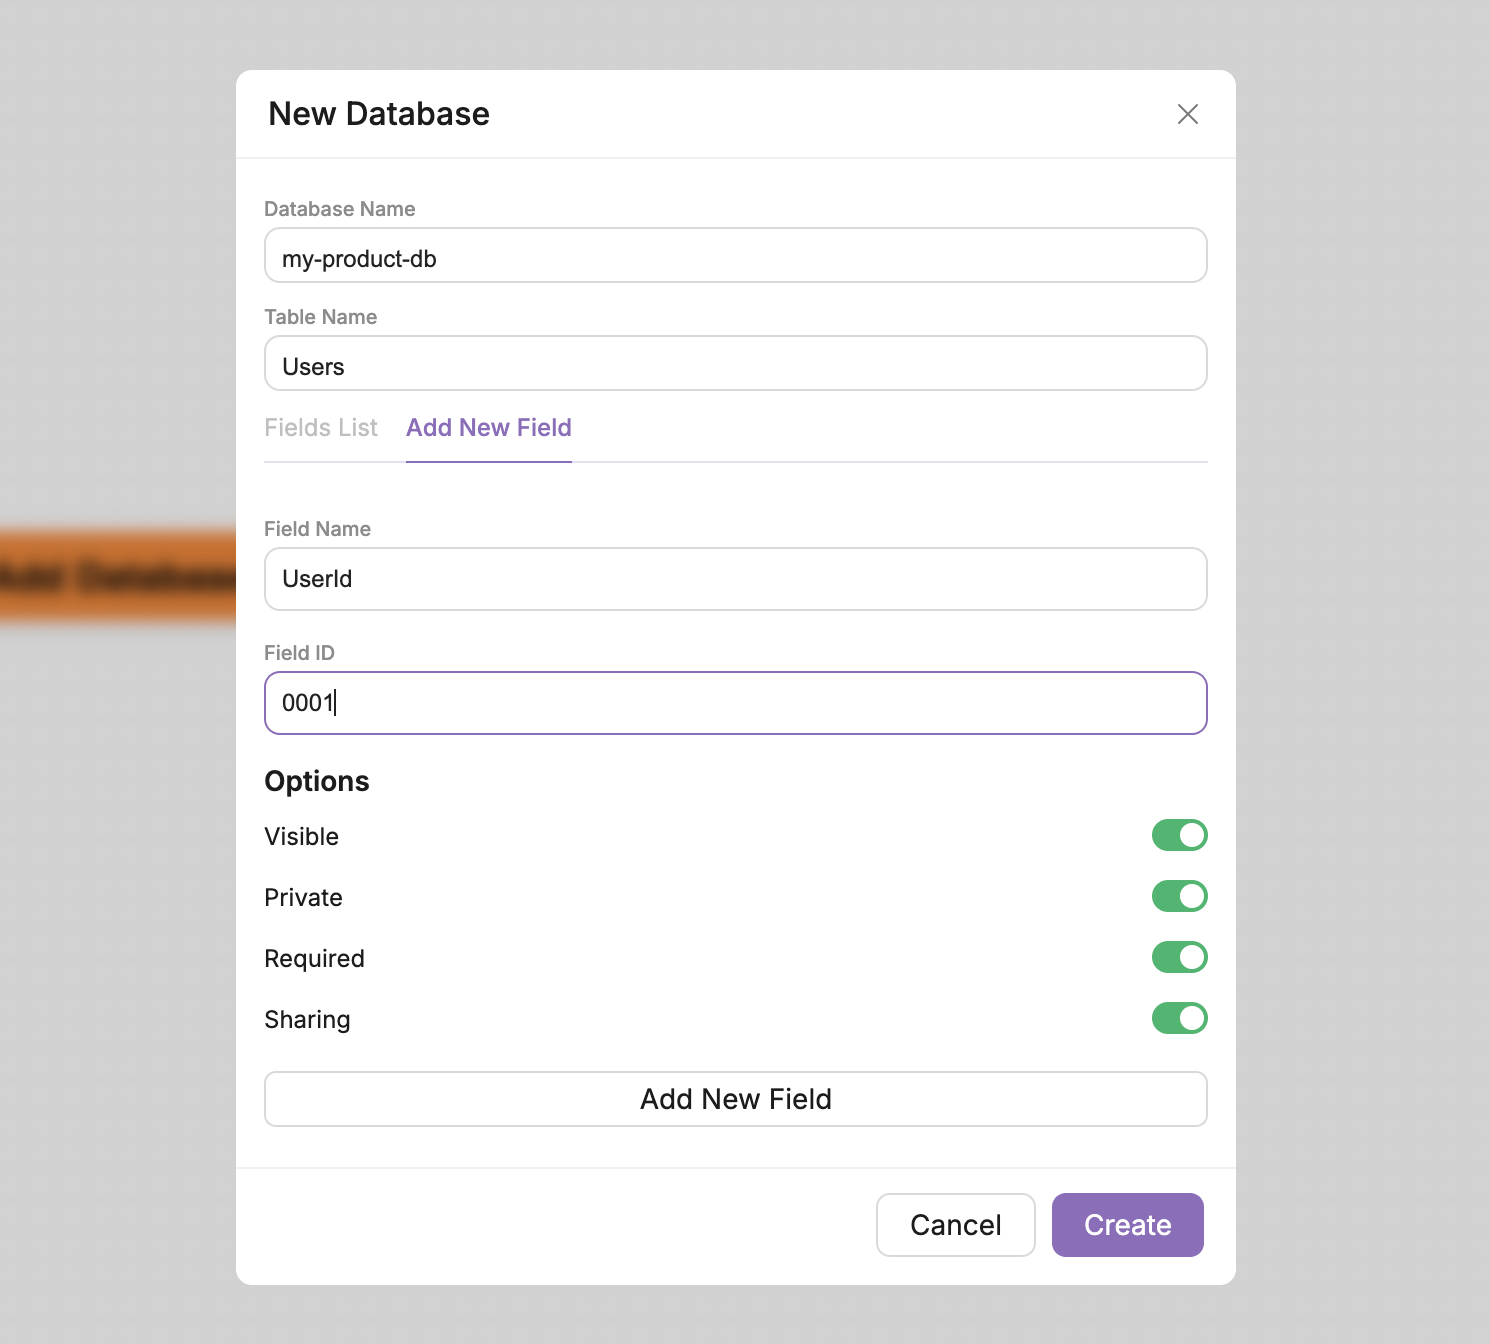
Once completed, select Add New Field. Feel free to repeat this step as many times as necessary. As you can see below, I added a few fields to my table. Once you're done, select Create.
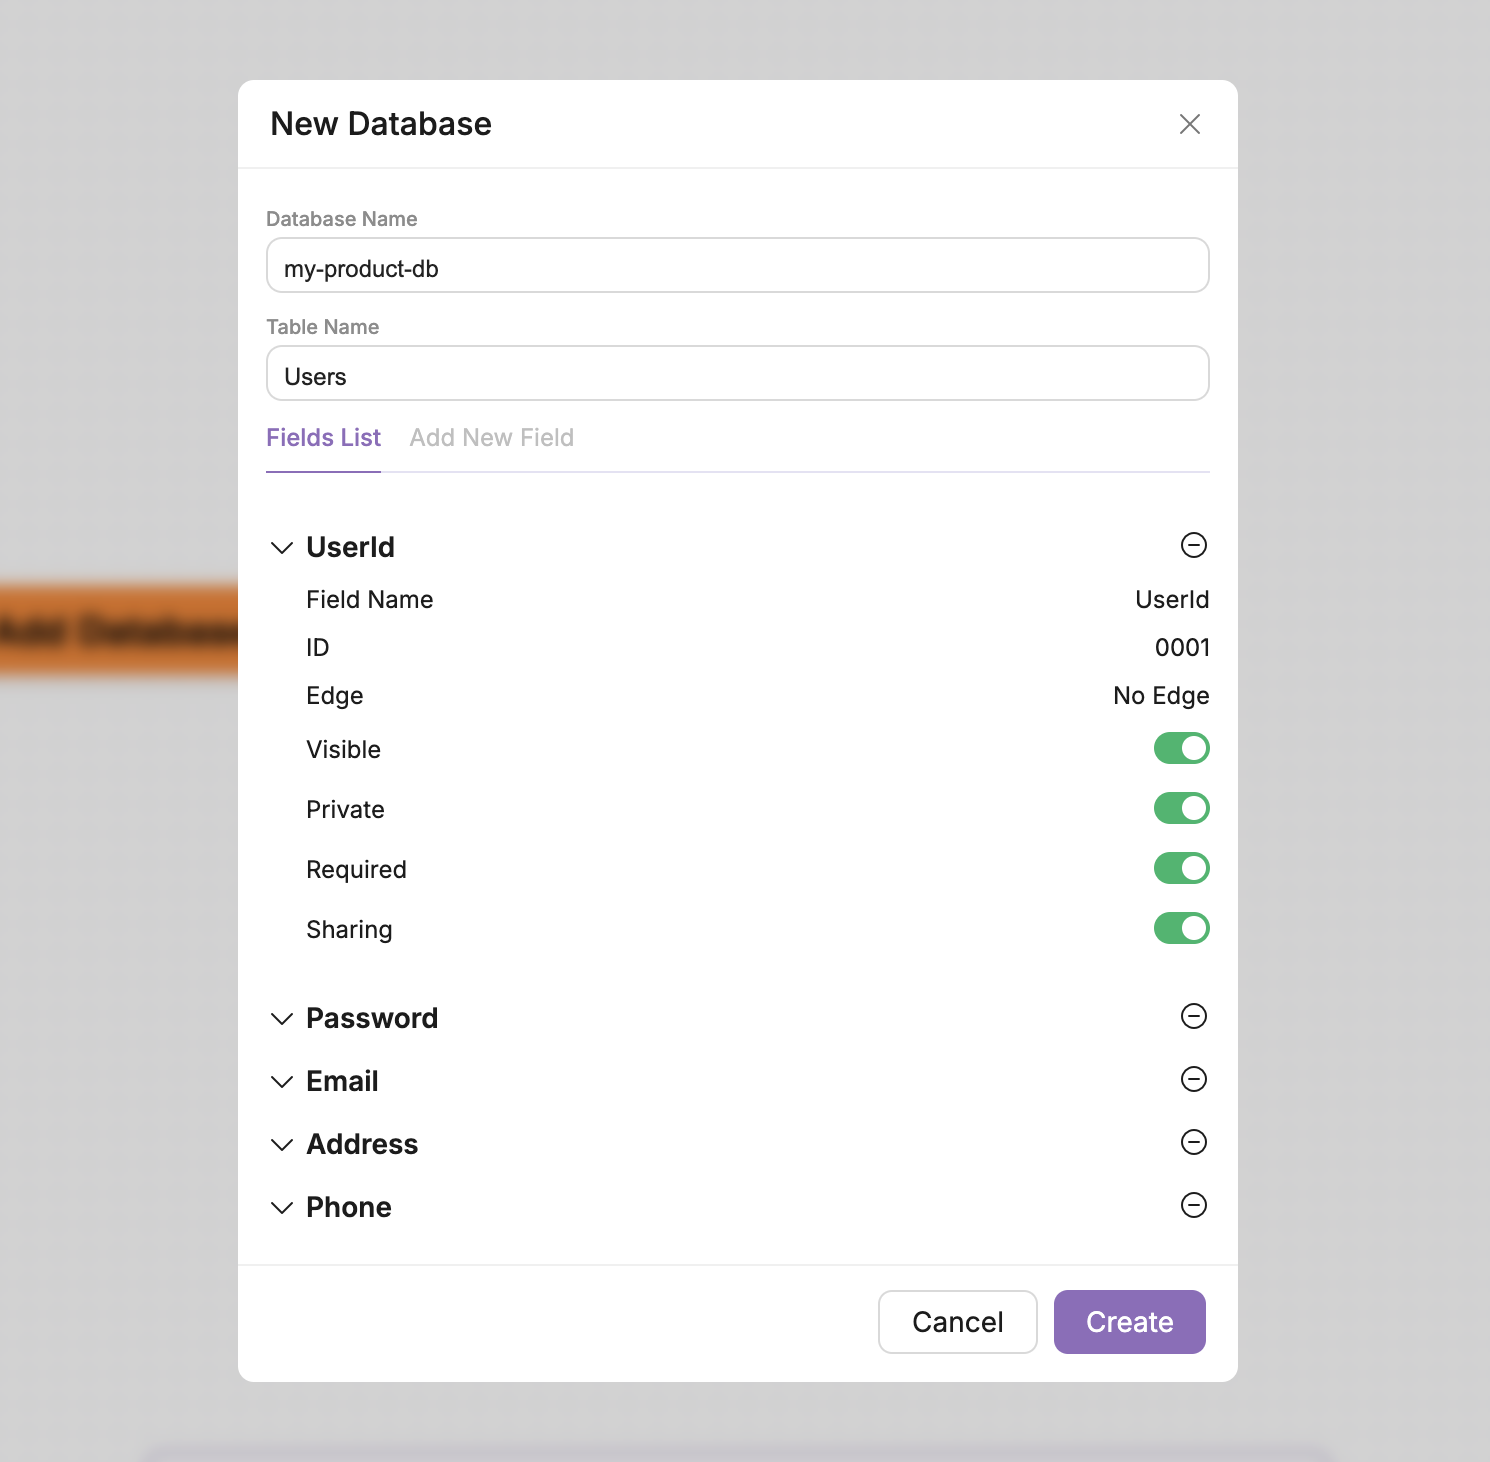
Now you should see a map similar to the one below. You can edit the new database and create new tables. Make sure to select Save before exiting the model editor.
For larger databases, instead of manually entering your schema, it's recommended to use our Integrations. Simply enter in your connection data and we'll automatically generate a Meta Model of your database. For more information, visit the Integrations page.