User Management
Welcome to the User Management section of Privacy Lock. This guide will walk you through how to navigate and utilize the user management features effectively.
Accessing User Management
- Log in to your Privacy Lock account.
- From the left-hand menu, click on Manage Users.
- The Users Management page will appear, showing a list of existing users with their details:
- Email Address
- Role (e.g., Super Admin, Manager)
- Status (e.g., On-Boarded)
- Created At
- Updated At

Viewing Users
- The user list displays the current users associated with your account.
- The counter above the table shows the number of users onboarded and the maximum allowed users (e.g.,
1/10). - To remove a user, click on the trash icon next to their entry.
Adding a New User
- On the Users Management page, click on the Create User button.
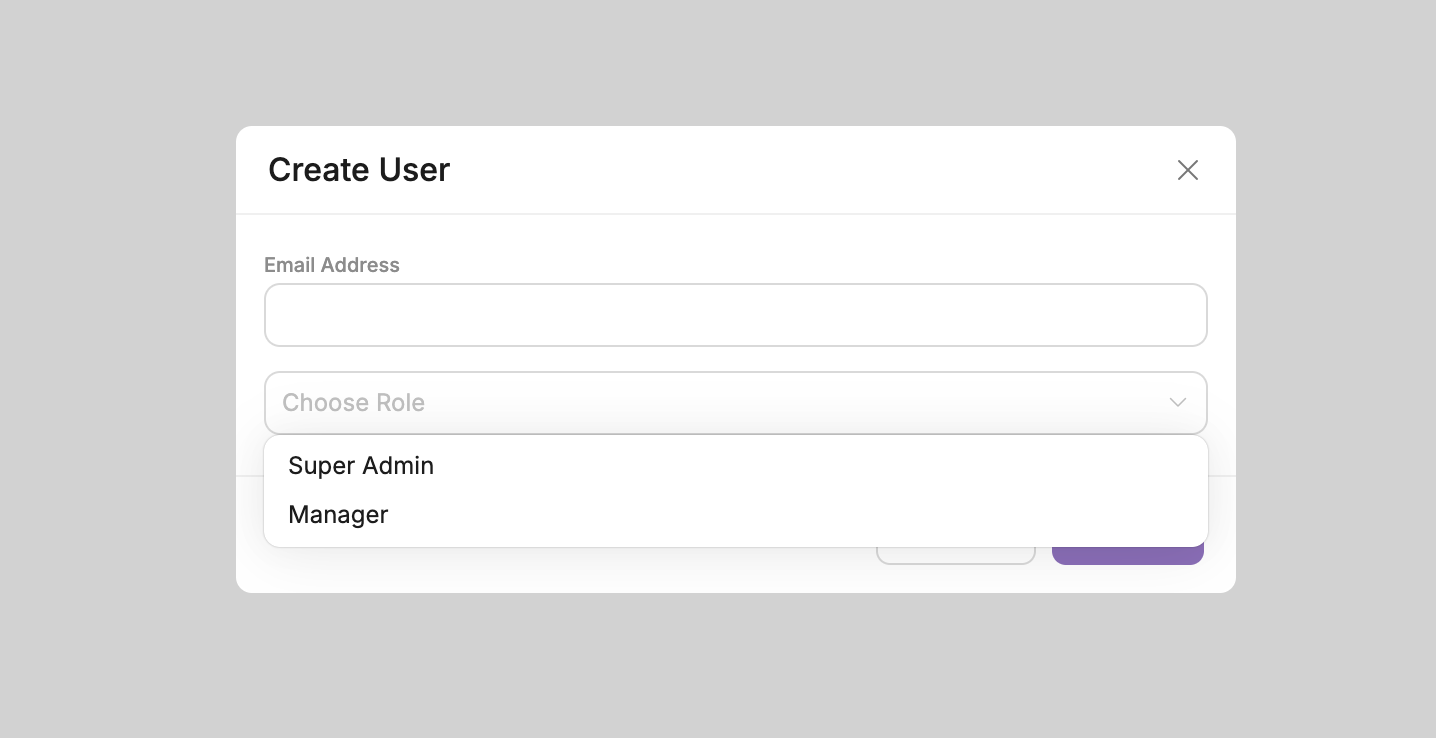
- A modal titled Create User will appear.
- Fill in the following details:
- Email Address: Enter the email address of the new user.
- Role: Select a role from the dropdown (e.g., Super Admin, Manager).
- Once the details are filled, click the Save button to add the user.
Notes:
- Only users with sufficient permissions (e.g., Super Admin) can add or remove users.
- Ensure the email address is valid to avoid errors during user onboarding.

Changing Passwords
- Navigate to the Security section (accessible from your profile settings in the top-right corner).
- Fill in the fields under Change Password:
- Current Password
- New Password
- Repeat New Password
- Click Save Changes to update your password.
- Use Reset Changes if you need to clear the fields and start over.

User Roles
- Super Admin: Full access to all features, including user management.
- Manager: Limited access based on permissions set by the Super Admin.
Best Practices
- Assign roles carefully to maintain secure access to features.
- Regularly review user activity and roles to ensure data security.
- Update passwords periodically and encourage users to do the same.