Workflow
The integrations feature is not supported for CookieGo products.
Create an Integration
If you do not feel comfortable using your database credentials, you can always do a json upload of your metadata. However, with integrations, we are able to periodically update your map based on live changes in your database structure. This feature is not supported with a json upload.
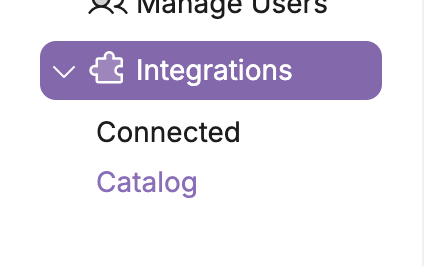
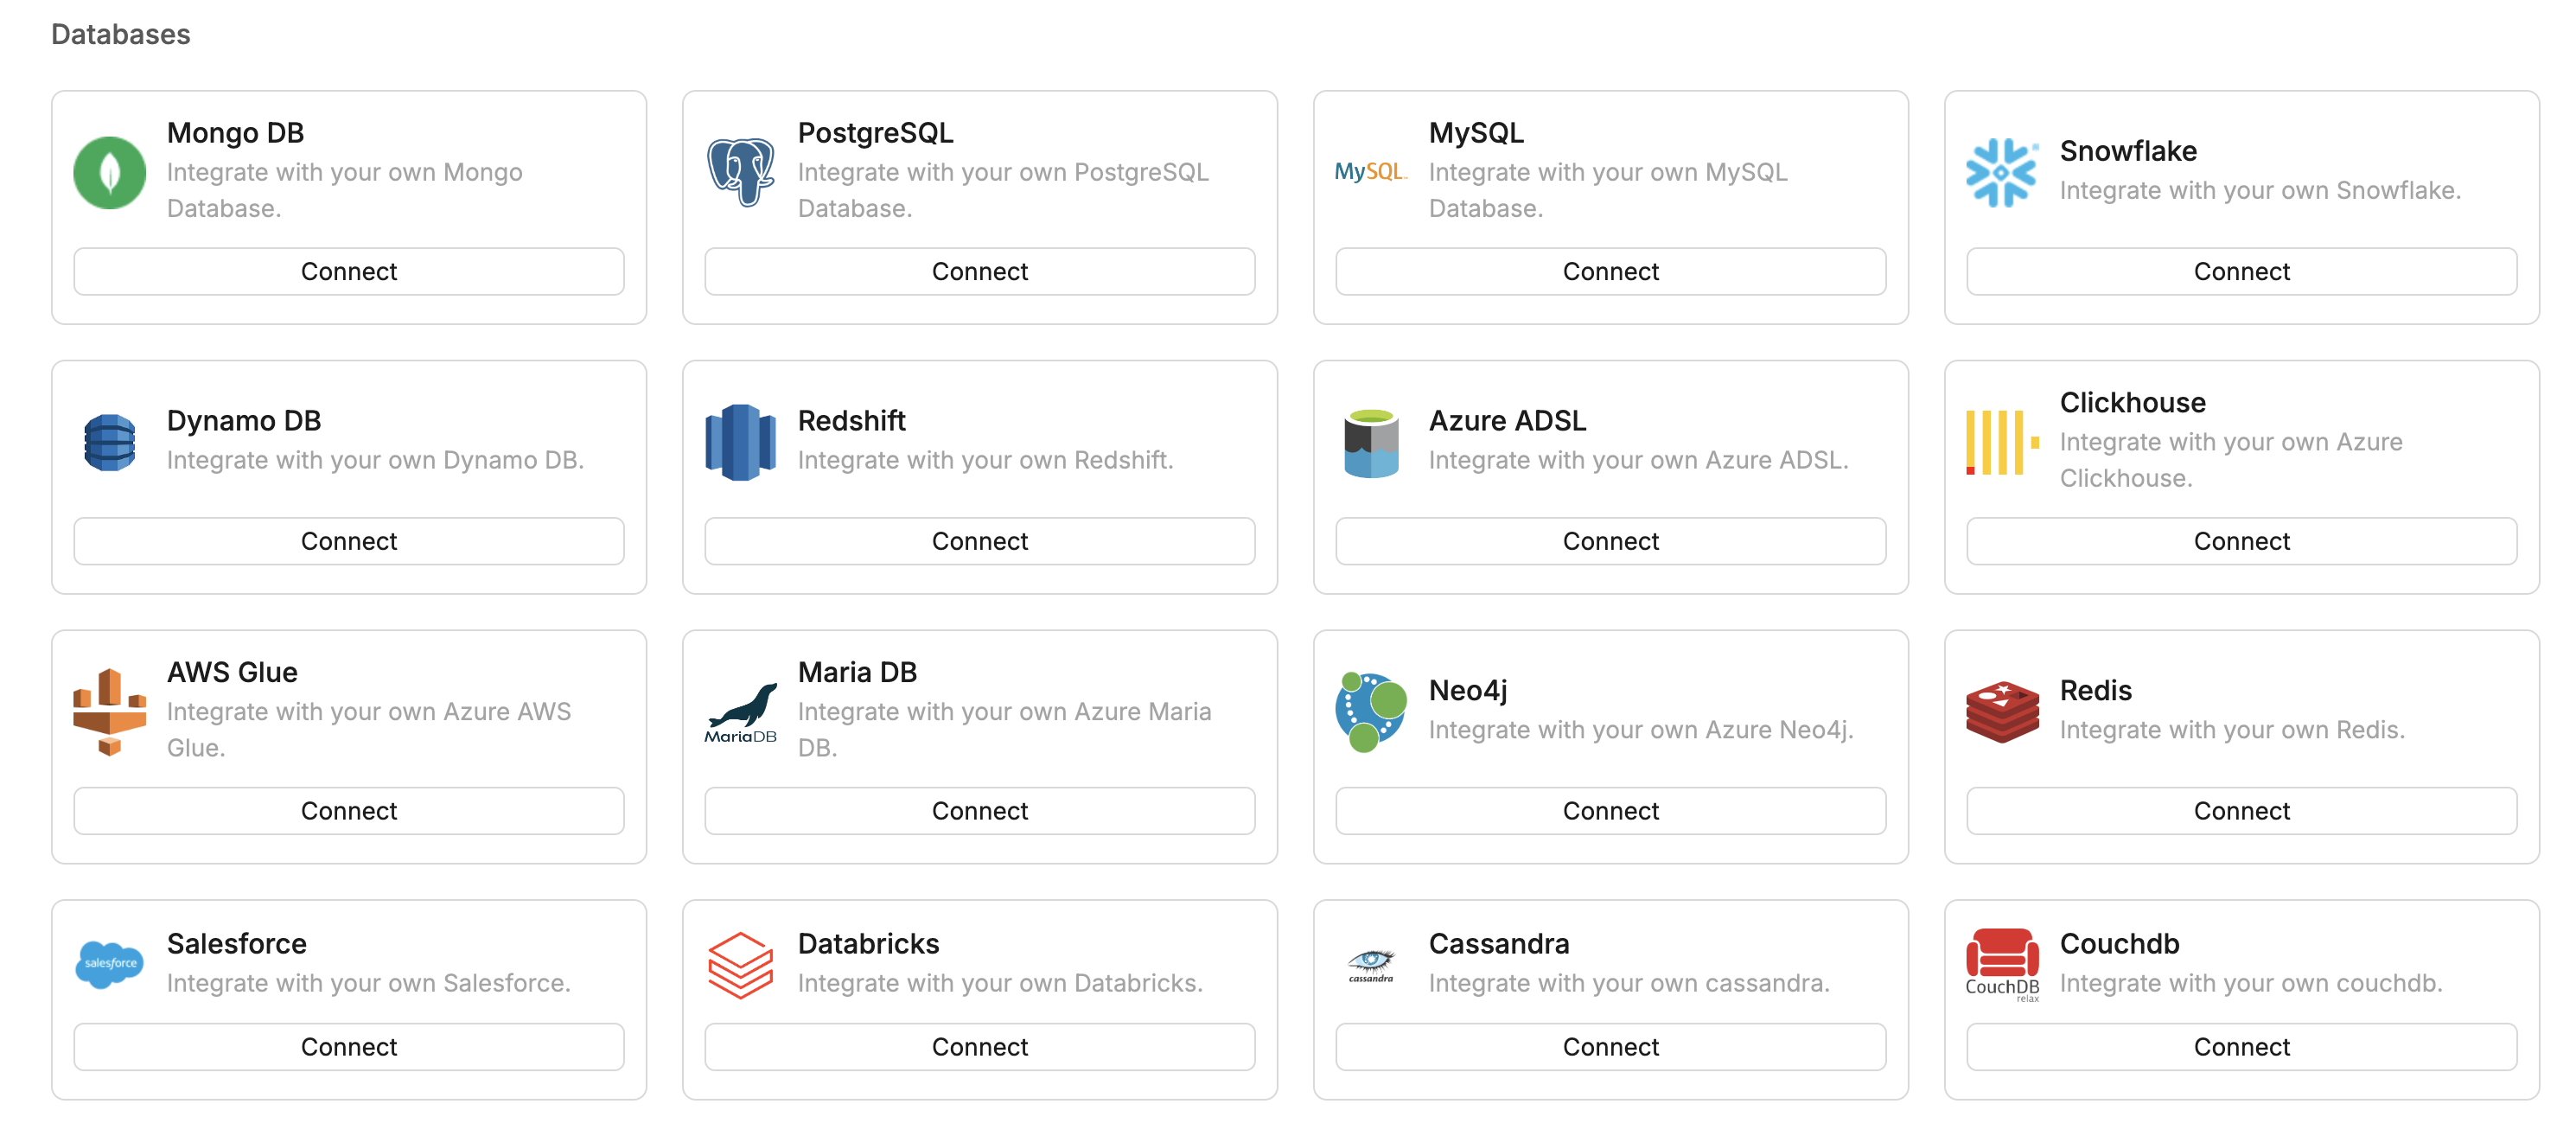
To create an integration, navigate to your Privacy Lock dashboard and select the tab seen below. Our integrations catalog shows all of our available integrations.

Step 1: Select Your Integration
From this page, you will see a number of supported integrations available to choose from. When selecting an integration, it's important to consider your system’s compliance needs. We recommend using your primary data source as a starting point for the integration.

Step 2: Connect Your Database
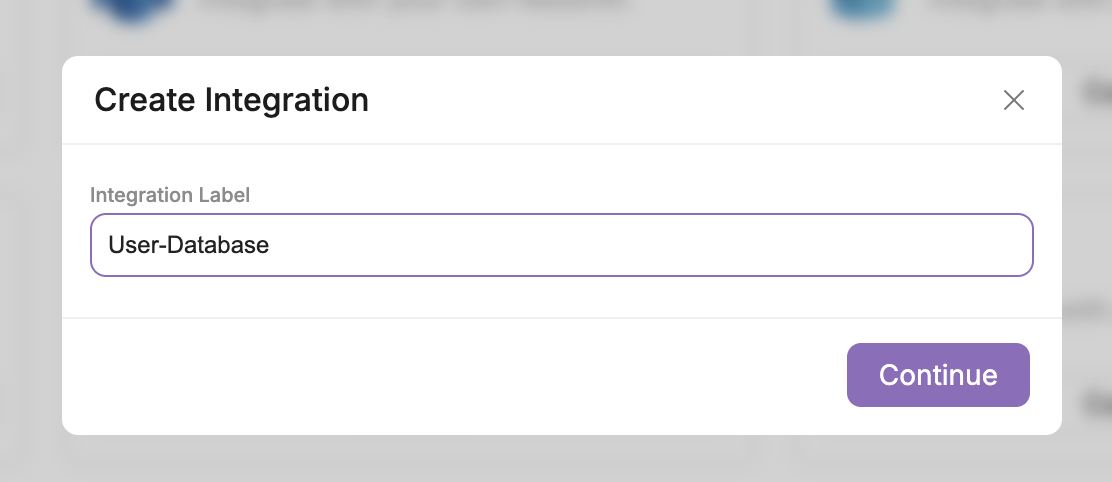
Once you've chosen the integration you need for your system, click Connect and proceed to the next page. For this demonstration, I will be using Postgres as an example. After clicking Connect, you will be prompted to give the integration a name. As shown below, I’ve named mine User-Database.

Step 3: Set Up Your Integration
Once you’ve named the integration and selected Create, you will be redirected to the Connected Integrations page. Here you will see the integrations you've set up, including the newly created User-Database for Postgres.

Notice the newly created Postgres integration on the bottom. As you can see, the platform is indicating that the database connection needs to be configured. To do so, click on the the dots on the right side of the row and select Manage. This will reroute you to a page where you can configure your database settings.

Step 4: Configure the Integration
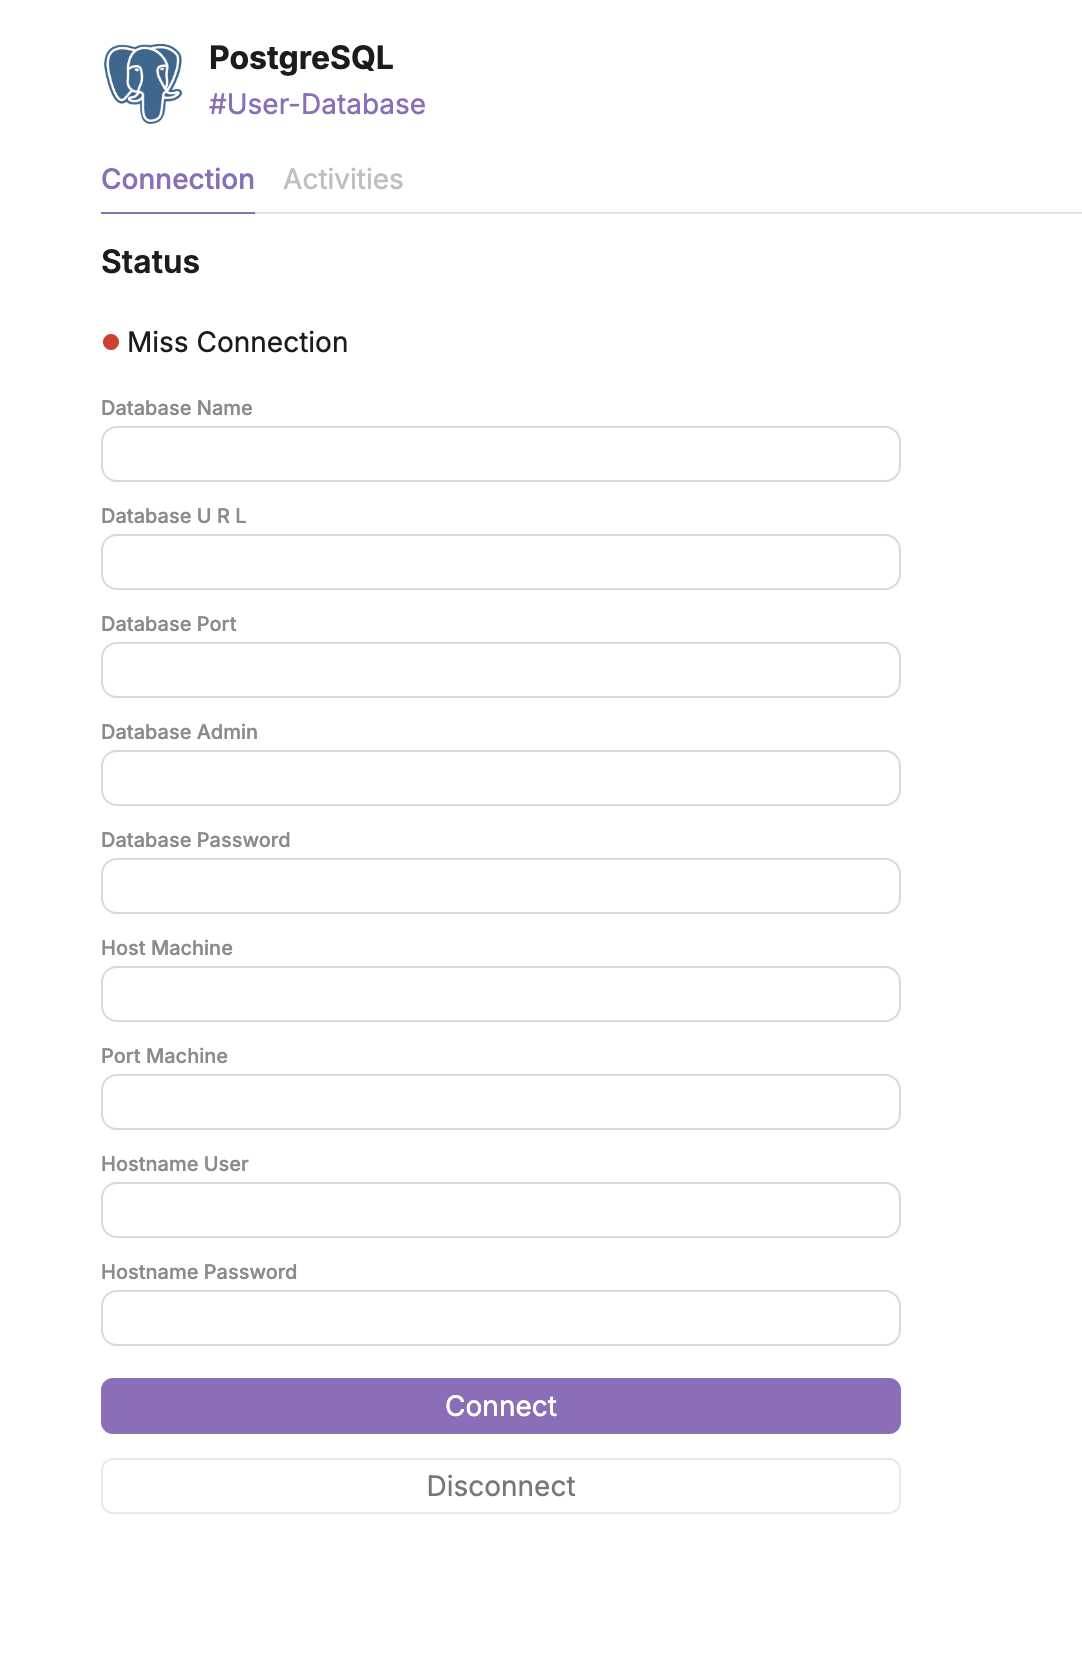
On this page, we request a few different fields to establish your connection. Below is an overview of each field and how we use them. Before we begin, please note that our systems will create an SSH tunnel to the host where your database resides.
- Database Name: This field should be the name of your database. It's used to create the database connection string. (Example:
users-db) - Database URL: This should be the URL of the database, with respect to the ssh tunnel. For most cases, you can just use local host. (Example:
127.0.0.1) - Database Port: This field represents the database port. (Example:
5432) - Database Admin: This field should be the username for your database user. (Example:
my-user) - Database Password: Likewise, this field is the database password for your user. (Example:
my-password) - Host Machine: Is the url that will be used to create the ssh tunnel. (Example:
123.23.34.456) - Port Machine: This is the port that will be used to create the ssh tunnel. In most cases, this will be port 80 (Example:
80) - Hostname User: This is the username that will be used for the ssh tunnel. In other words, an ssh user. (Example:
my-ssh-user) - Hostname Password: This is the password that will be used for the ssh tunnel. In other words, an ssh password with respect to the given username. (Example:
my-ssh-password)
Depending on which integration you are using, the values for each field may need to be different. Some of our integrations use API Keys instead of username and password authentication. For more information on a specific integration, please examine the instructions below.
Snowflake
- For the
databaseAdminfield, please enter your information as,{Account_Admin}:{Database}-{Warehouse}, - For the
databaseNamefield, use the following structure to input the value:{Db_Name}:{Compute_Warehouse}:{AccountAdmin}:{Schema},
DynamoDb
- Please Set
databaseAdminto your AWS Access Key ID - The field
databaseNameshould be set to the AWS Default region name - And the "databasePassword" should be set to your AWS Secret Access Key
AWS Glue
- Please Set
databaseAdminto your AWS Access Key ID - The field
databaseNameshould be set to{AWS_Region}:{DB_Name} - And the "databasePassword" should be set to your AWS Secret Access Key
Datadog
- The field
databaseNameshould be set to your Datadog API Key - And the "databasePassword" should be set to your Datadog App Key